Postgres
This page will guide you through the setup of Postgres in K using the direct connect method.
Integration details
Scope | Included | Comments |
|---|---|---|
Metadata | YES |
|
Lineage | YES |
|
Usage | NO | |
Sensitive Data Scanner | NO |
|
Step 1) Establish Postgres Access
You will need to create a user <kada user> for the K Platform.
Generally all users should have access to the pg_catalog tables on Database creation for Postgres.
In the event the user doesn’t have access, explicit grants will need to be done per new Database in Postgres to the <kada user>.
GRANT USAGE ON SCHEMA pg_catalog TO <kada user>;
GRANT SELECT ON ALL TABLES IN SCHEMA pg_catalog TO <kada user>;
The user used for the extraction must also be able to connect to the the databases needed for extraction.
PG Tables
The user must have access to these pg_catalog tables per applicable database in Postgres
pg_class
pg_namespace
pg_proc
pg_database
pg_language
pg_type
pg_collation
pg_depend
pg_sequence
pg_constraint
pg_authid
pg_auth_members
Databases
The user must also be able to connect to all databases that you want onboarded.
Step 2) Connecting K to Postgres
Select Platform Settings in the side bar
In the pop-out side panel, under Integrations click on Sources
Click Add Source and select Postgres
Select Direct Connect and add your Postgres details and click Next
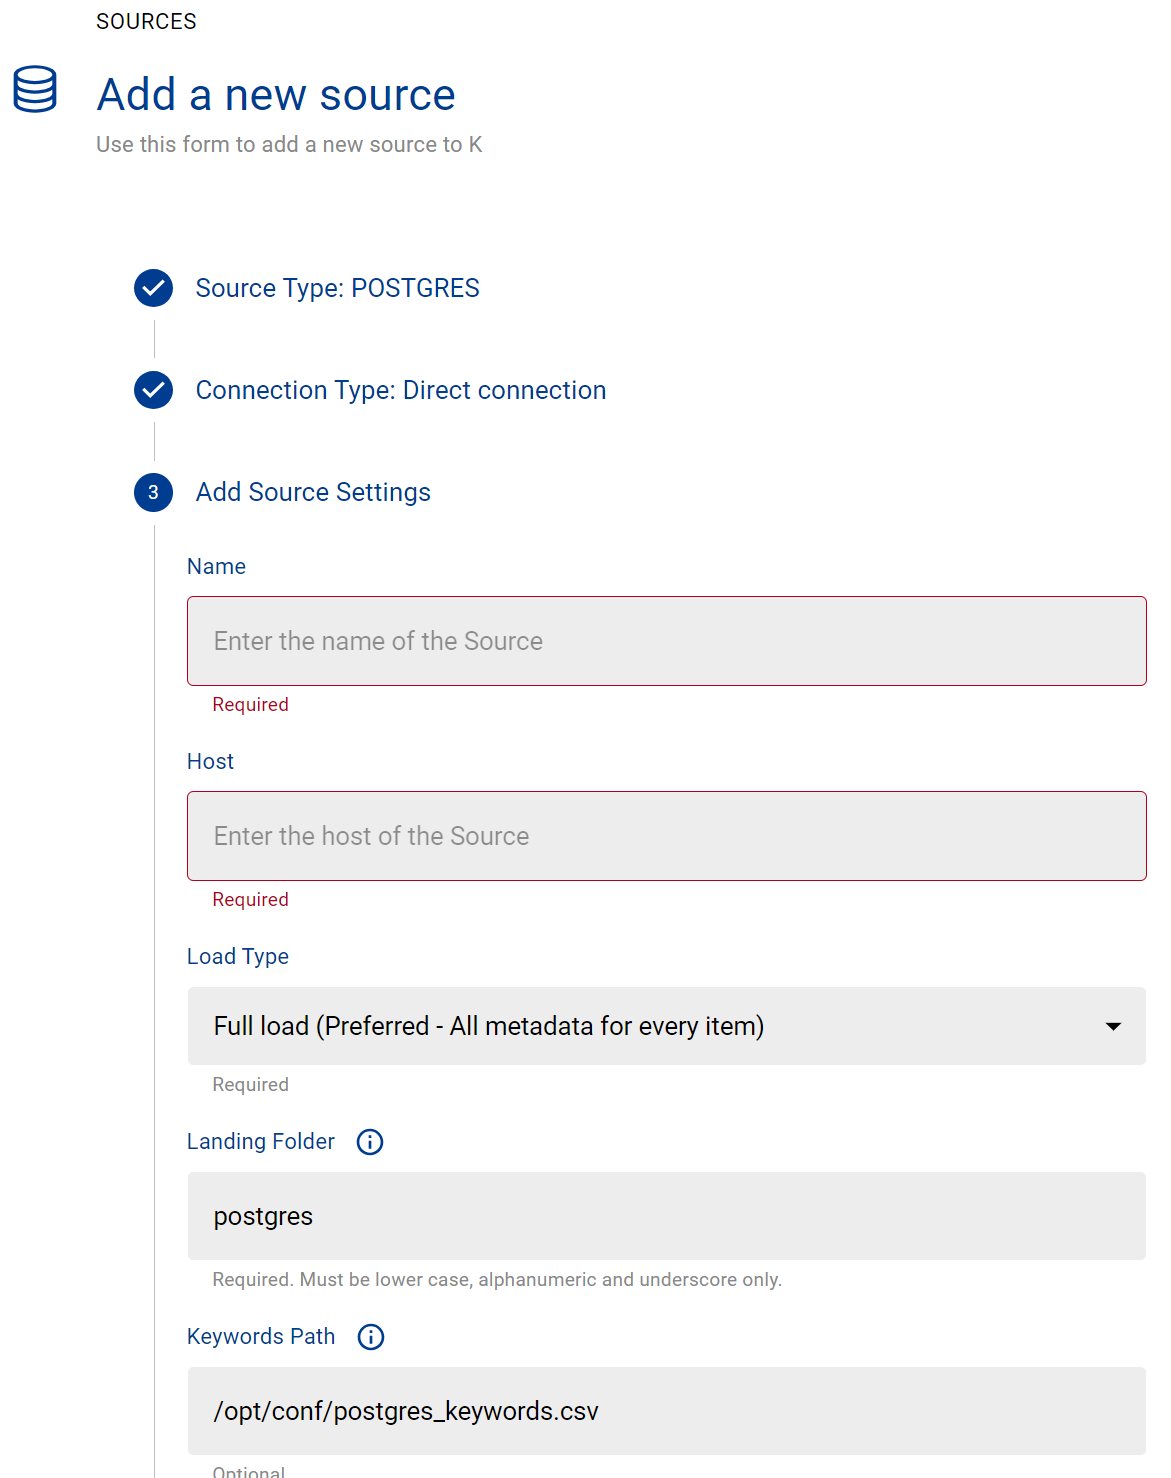
Fill in the Source Settings and click Next
Name: The name you wish to give your Postgres Instance in K
Host: Add your Postgres host (found in your Postgres URL)
Omit the https:// from the URL
Add the Connection details and click Save & Next when connection is successful
Host: Use the same details you previously added in the Host setting
Username: Add the Postgres user name you created in Step 1
Password: Add the Postgres user password you created in Step 1
Test your connection and click Save
Select the Databases you wish to load into K and click Finish Setup
All databases will be listed. If you have a lot of databases this may take a few seconds to load
Return to the Sources page and locate the new Postgres source that you loaded
Click on the clock icon to select Edit Schedule and set your preferred schedule for the Snowflake load
Note that scheduling a source can take up to 15 minutes to propagate the change.
Step 3) Manually run an ad hoc load to test Postgres setup
Next to your new Source, click on the Run manual load icon

Confirm how your want the source to be loaded
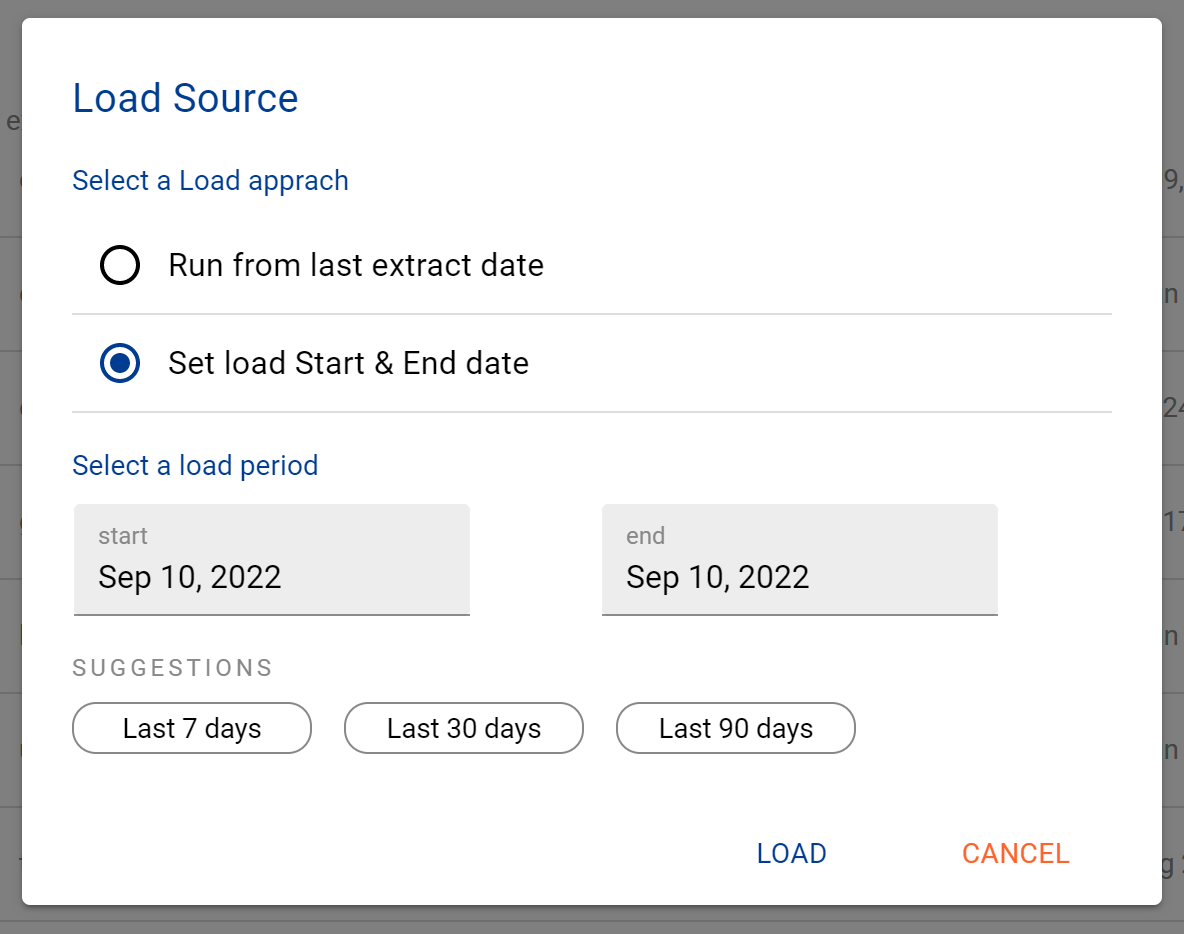
After the source load is triggered, a pop up bar will appear taking you to the Monitor tab in the Batch Manager page. This is the usual page you visit to view the progress of source loads

A manual source load will also require a manual run of
DAILY
GATHER_METRICS_AND_STATS
To load all metrics and indexes with the manually loaded metadata. These can be found in the Batch Manager page
Troubleshooting failed loads
If the job failed at the extraction step
Check the error. Contact KADA Support if required.
Rerun the source job
If the job failed at the load step, the landing folder failed directory will contain the file with issues.
Find the bad record and fix the file
Rerun the source job