Snowflake Data Metrics Functions
This page will guide you through the setup of Snowflake Data Metrics Functions (DMF) for integration with K using the direct connect method.
Integration details
Scope | Included | Comments |
|---|---|---|
Metadata | YES | |
Usage | YES | |
Data Quality | YES | See known limitations below |
Known limitations
K does NOT currently support the out of the box DMFs (SNOWFLAKE.CORE).
K only uses user defined DMFs because K measures DQ results as a % of rows that meet the test condition.
K expects the DMF result to be a value between 0 to 100
Out of the box DMFs measure the number of rows that meet the test condition which does not provide sufficient context
Replacement DMFs for out of the box DMFs are available here Setting up Snowflake Data Metrics Functions
Step 1) Establish Snowflake Access
Ensure that you have setup Snowflake in K as per Snowflake
We recommend you use the same user for the Snowflake integration as the same user for DMF integration (option 1). A new user can be created specifically for this integration (option 2).
Add the following grants to the K user
Option 1: Extending the K user with access to Snowflake DMF
Assuming you followed the Snowflake integration instructions and created a role called CATALOG_READ_ONLY you can follow the steps to add grants to extend the user to be able to read Snowflake DMF details
--Log in with a user that has the permissions to assign/update roles

--Add the following DQ related roles to the KADA role created previously
GRANT APPLICATION ROLE SNOWFLAKE.DATA_QUALITY_MONITORING_VIEWER TO ROLE CATALOG_READ_ONLY;
GRANT DATABASE ROLE SNOWFLAKE.DATA_METRIC_USER TO ROLE CATALOG_READ_ONLY
GRANT DATABASE ROLE SNOWFLAKE.OBJECT_VIEWER TO ROLE CATALOG_READ_ONLY
Option 2: Creating a user with access to Snowflake DMF
To create a user with general access to metadata available in Snowflake Account Usage schema
--Log in with a user that has the permissions to create a role/user

--Create a new role for the Catalog user
Create role CATALOG_READ_ONLY;

--Grant the role access to the Account usage schema
grant imported privileges on database Snowflake to CATALOG_READ_ONLY;
grant select on all tables in schema SNOWFLAKE.ACCOUNT_USAGE to CATALOG_READ_ONLY;
grant monitor on account to role CATALOG_READ_ONLY;
GRANT APPLICATION ROLE SNOWFLAKE.DATA_QUALITY_MONITORING_VIEWER TO ROLE CATALOG_READ_ONLY;
GRANT DATABASE ROLE SNOWFLAKE.DATA_METRIC_USER TO ROLE CATALOG_READ_ONLY
GRANT DATABASE ROLE SNOWFLAKE.OBJECT_VIEWER TO ROLE CATALOG_READ_ONLY

--Create a new user for K and grant it the role (remove the [])
create user [kada_user] password=['abc123!@#'] default_role = CATALOG_READ_ONLY default_warehouse = [warehouse];
Snowflake integration uses username/password. Using keys will be supported in an upcoming release. If keys are required consider using the Snowflake DMF collector
Step 2) Connecting K to Snowflake
Select Platform Settings in the side bar
In the pop-out side panel, under Integrations click on Sources
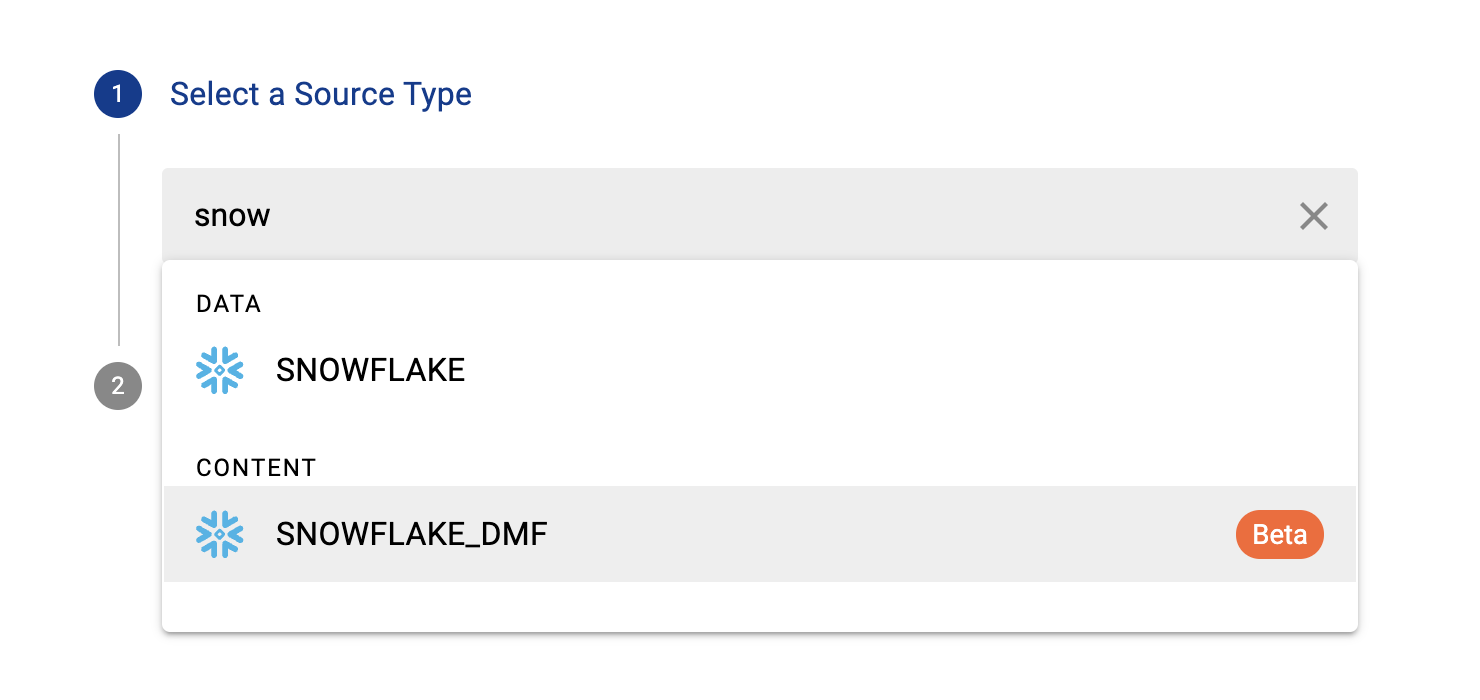
Click Add Source and select Snowflake

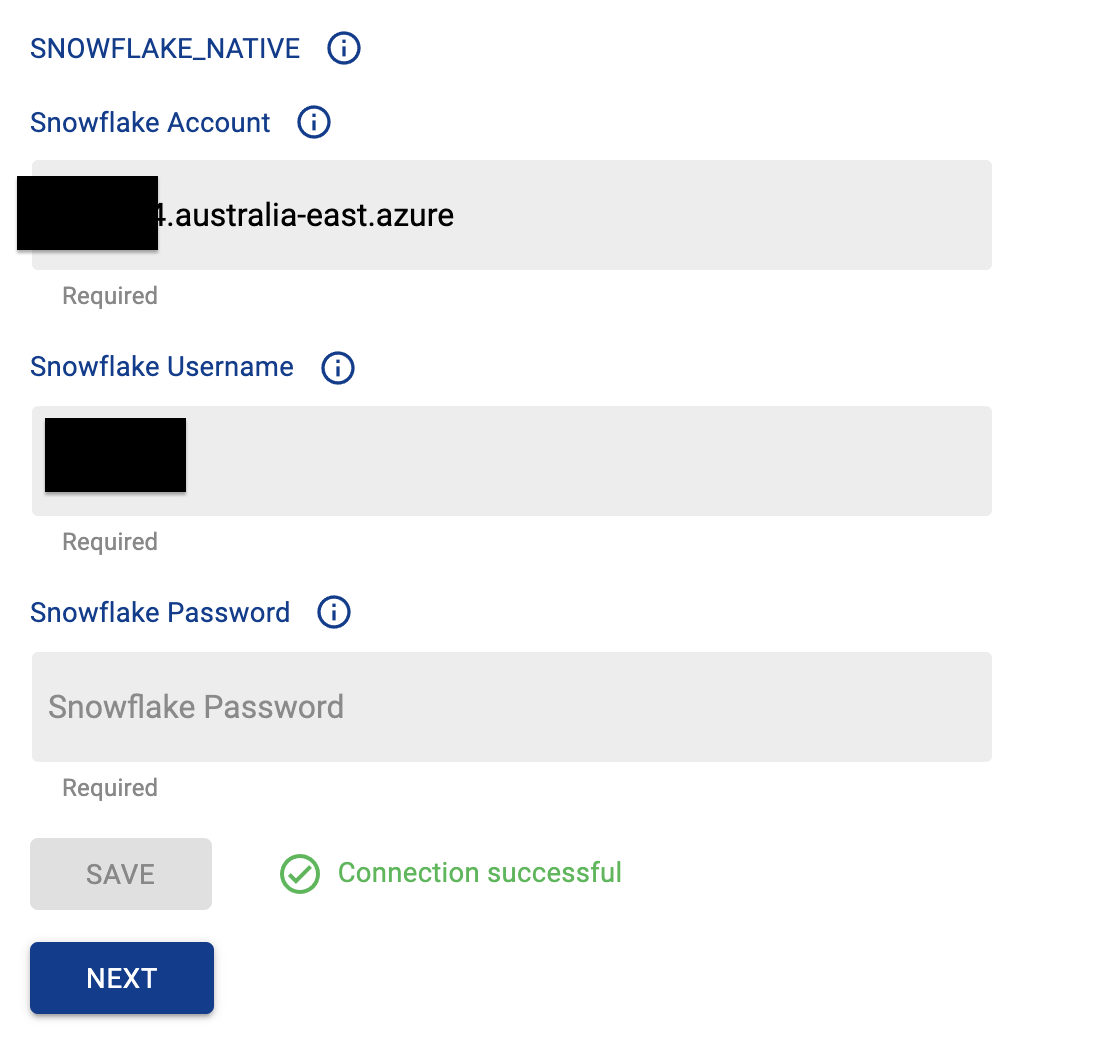
Select Direct Connect and add your Snowflake details and click Next
Fill in the Source Settings and click Next
Name: The name you wish to give your Snowflake DMF in K e.g. Snowflake DMF
Host: Add a host value
If you use your Snowflake account value make sure to add -dq at the end to differentiate this source from your Snowflake source with the same host value.
Information Database Role: Add the role the user should use
Information Database: Default is Snowflake if using Snowflake DB. Otherwise enter the Database created to store metadata views from Step 1
Warehouse: Add the warehouse the user should use
Snowflake Host: Add your Snowflake account (excluding the https:// at the start)
e.g. abc123.australia-east.azure.snowflakecomputing.com
Add the Connection details and click Save & Next when connection is successful
Snowflake account: Use the same details (Snowflake account) you previously added in the Snowflake Host setting however this time remove the .snowflakecomputing.com at the end
e.g abc123.australia-east.azure
Username: Add the Snowflake user name
Password: Add the Snowflake user password

Test your connection and click Save
Click Finish Setup to create your new Snowflake DMF source
Return to the Sources page and locate the new Snowflake DMF source that you loaded
Click on the clock icon to select Edit Schedule and set your preferred schedule for the Snowflake load
Note that scheduling a source can take up to 15 minutes to propagate the change.
Step 3) Manually run an ad hoc load to test Snowflake setup
Next to your new Source, click on the Run manual load icon
Confirm how you want the source to be loaded
After the source load is triggered, a pop up bar will appear taking you to the Monitor tab in the Batch Manager page. This is the usual page you visit to view the progress of source loads
A manual source load will also require a manual run of
DAILY
GATHER_METRICS_AND_STATS
To load all metrics and indexes with the manually loaded metadata. These can be found in the Batch Manager page
Troubleshooting failed loads
If the job failed at the extraction step
Check the error. Contact KADA Support if required.
Rerun the source job
If the job failed at the load step, the landing folder failed directory will contain the file with issues.
Find the bad record and fix the file
Rerun the source job
