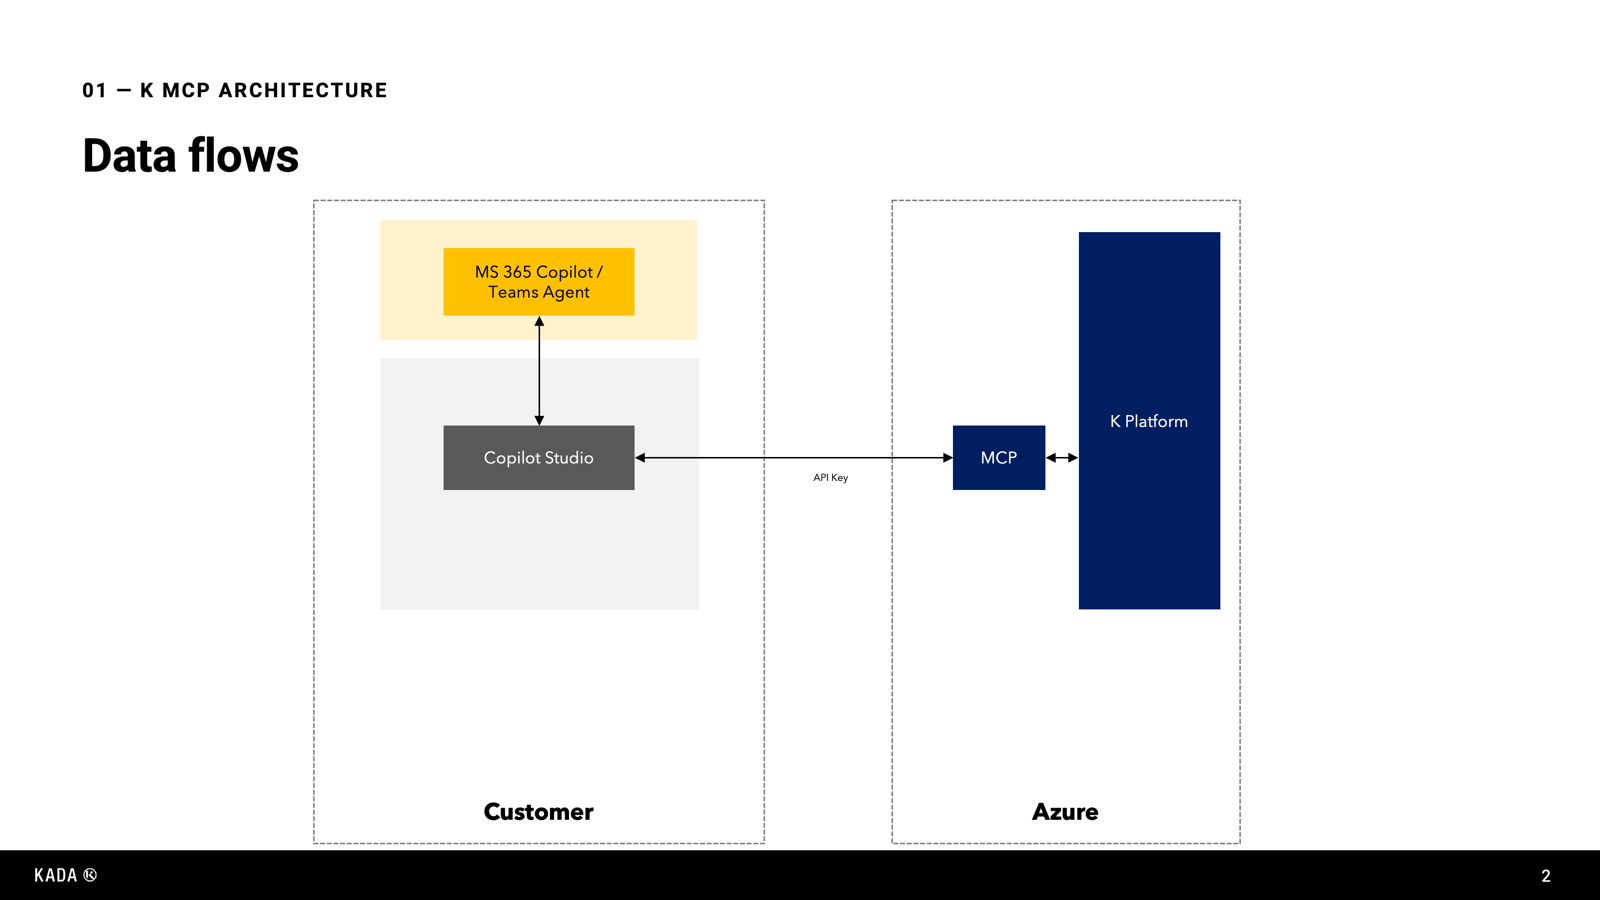
Kada provides a MCP integration for M365 Copilot and Teams.
The Kada agent can be deployed via Copilot Studio
Prerequisites
-
You must have access to Copilot Studio and licensed for Microsoft 365 Copilot
-
Kada MCP API key (For API) / Secret Value (For Oauth). Oauth is recommended for user MCP access to K.
-
Kada MCP Server URL endpoint (e.g.,
https://demo.kada.ai/mcp) -
Kada MCP Skills files
-
Discovery Skill
-
Code Extract Skill
-
You must request access to the Kada MCP. Reach out to your Kada account manager for access.
Step 1: Creating the K Agent in Copilot Studio
-
Log into Copilot studio - copilotstudio.microsoft.com/
-
On the Home Tab, click Agent
-
Give your Agent a name and an icon - e.g. K
-
Add the following instructions
Always answer data catalog questions by calling the KADA MCP SERVER. Follow the attached KADA skills: use the kada-discovery skill to search and explain catalog assets, and the kada-code-extract skill to retrieve the code that builds or uses an asset. Do not explain your approach. Always return the response to the question asked by using the result from Kada. Do not include citation references in your response. When including hyperlinks, do **not** display the full URL. Instead, use Markdown link syntax with the word **LINK** as the display text. -
In the Right panel click
-
Model: Select a model for the Agent to use. Current recommendation is Claude Sonnet 5
-
Add Skill. Upload the Skills files provided.
-
-
Click Save in the header to save your Agent settings
Step 2: Connecting your Agent to K MCP
-
Click on Tools
-
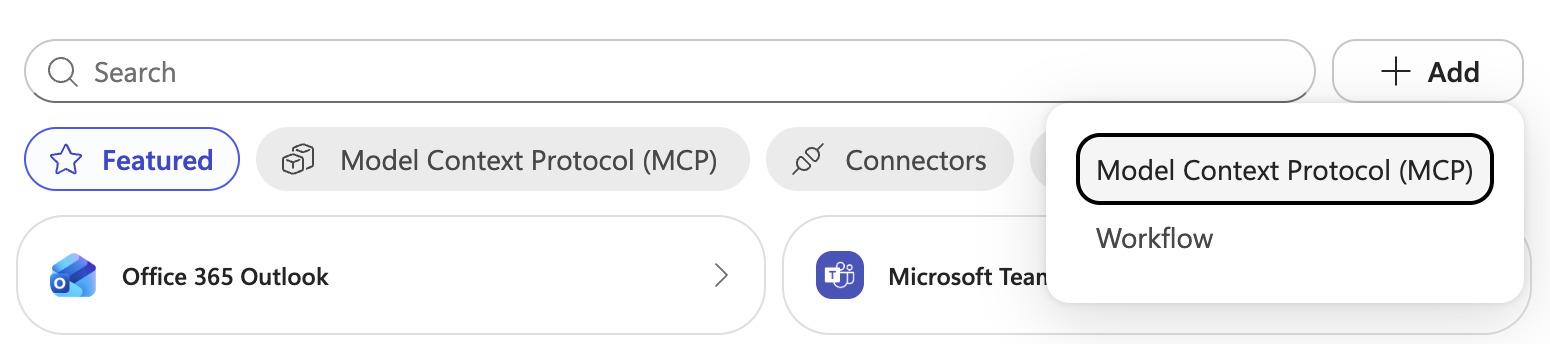
The Add Tool modal will open. Click Add and select Model Context Protocol
-
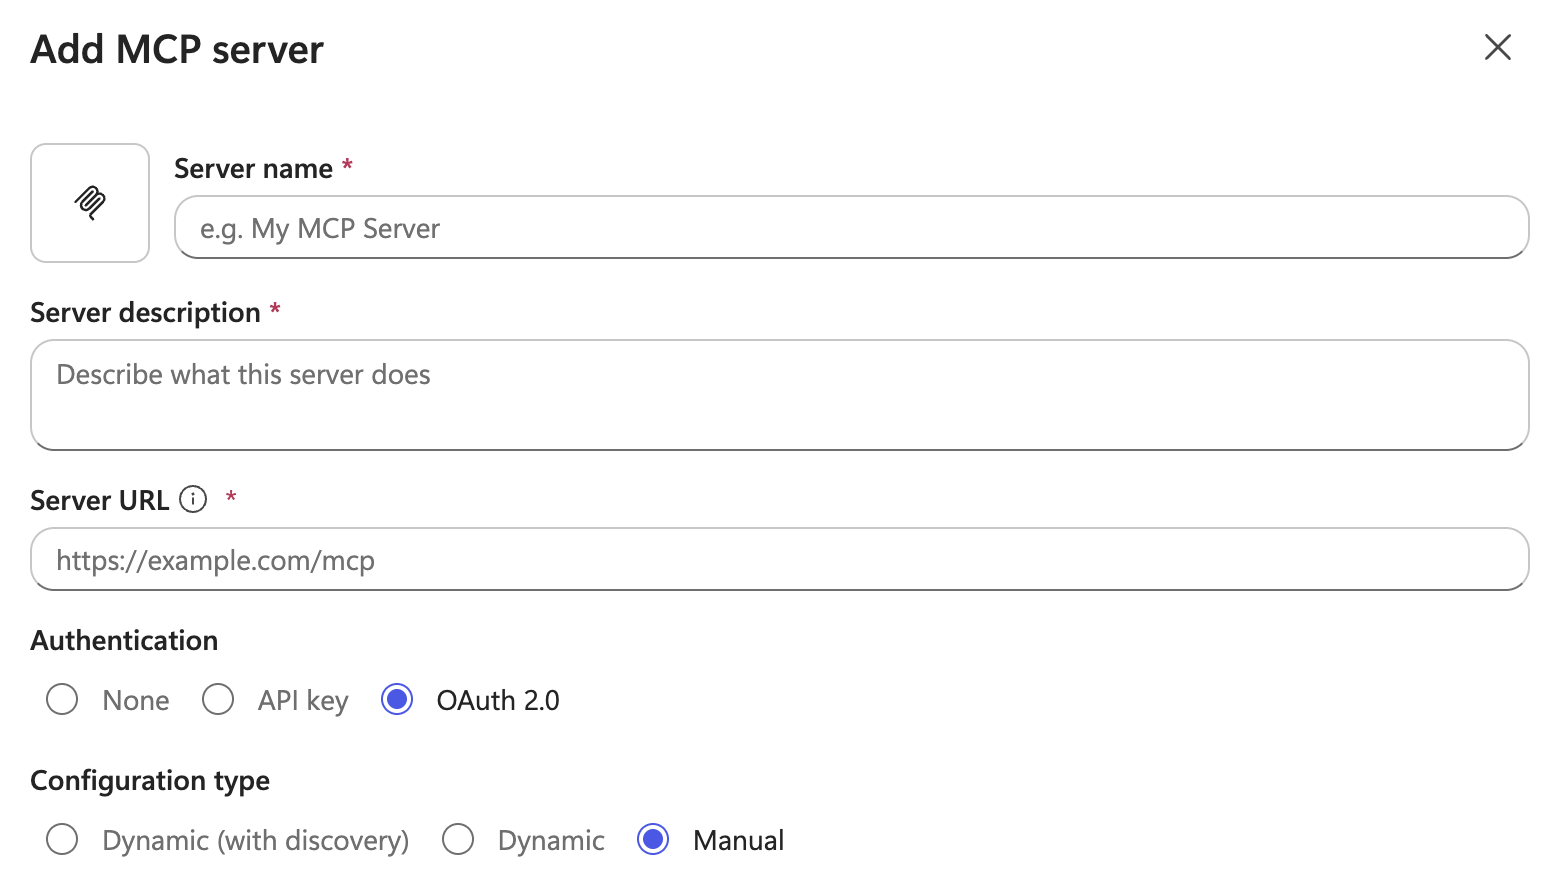
Add the following details
-
Name: Give the Tool a name: e.g. Kada MCP Oauth or Kada MCP API
-
Description: Give the Tool a description: KADA MCP connection via Oauth
-
Server URL:
https://<your-deployed-server-url>/mcp -
Authentication: Select Oauth or API based on your preferred method method
-
-
For Oauth authentication fill in the following details
-
Configuration Type: Manual
-
Client ID:
mcp-oauth -
Client Secret: Provided by Kada
-
Authroisation URL:
https://<your-kada-domain>/keycloak/auth/realms/kada/protocol/openid-connect/auth -
Token URL:
https://<your-kada-domain>/keycloak/auth/realms/kada/protocol/openid-connect/token -
Refresh URL:
https://<your-kada-domain>/keycloak/auth/realms/kada/protocol/openid-connect/token -
Scopes:
openid profile kada-mcp -
Click Add
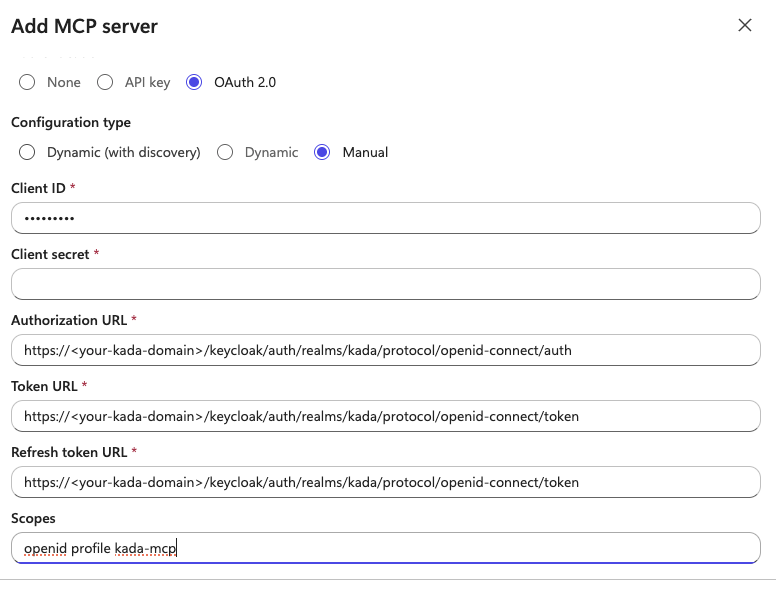
-
-
For API method fill in the following details
-
Parameter type: Head
-
Header name:
x-api-key -
Key value: Provided by Kada
-
Click Add
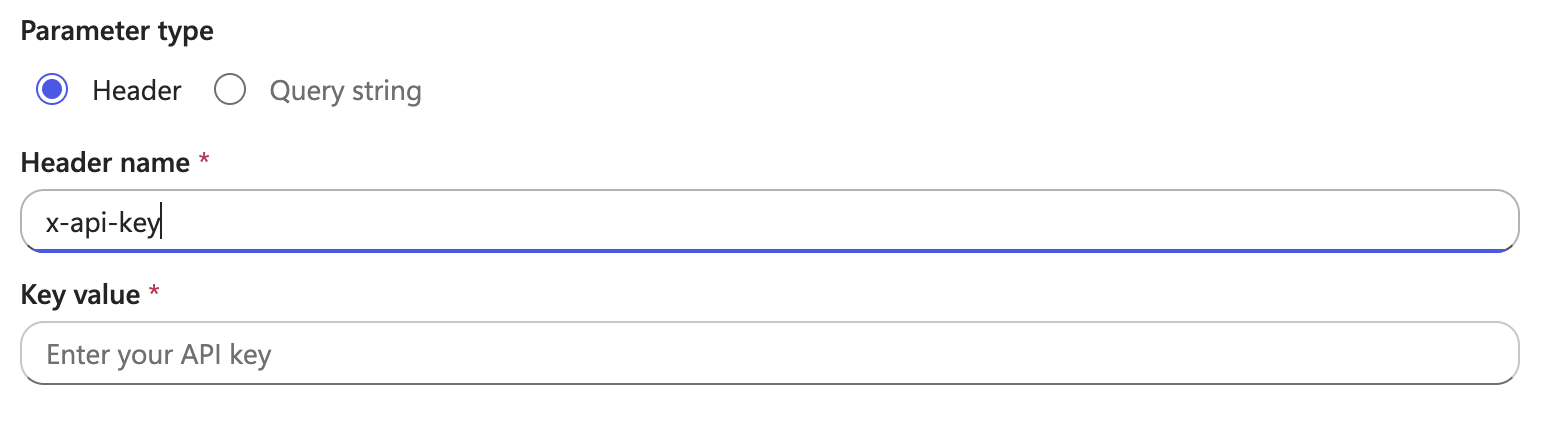
-
-
Connect your Tool: Initially your tool will not be connected.
Click Not Connected and Select the Create new connection option
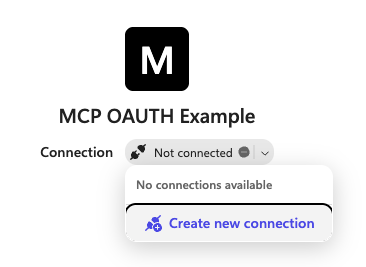
-
If Oauth authentication is used, you will be redirected to K to authenticate. If you are already logged into K, the connection will complete without requiring a login.
If API authentication is used, it will connected and confirm the connection has been established.
Click Add after the connection has been completed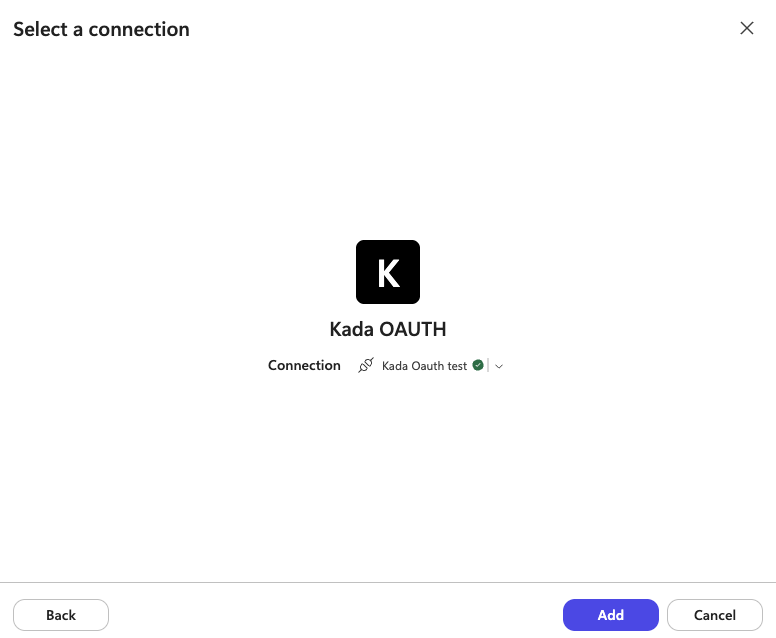
-
Click Save in the Header to save your Agent settings
Step 3: Testing your Agent
-
Go to the Preview tab
-
Test the agent with questions about your data ecosystem. Examples:
-
What report should I use for [use case] -
Who is the owner of this report? -
How is [table name] built? Show the SQL that loads it
-
-
If the agent provides inaccurate responses, consider tuning the instructions.
Please advise your Kada account manager with any feedback can be incorporated in the MCP / Skills files in future releases.
Step 4: Deploying your agent to Teams
-
Once you are comfortable with your Agent responses, you can publish the Agent
-
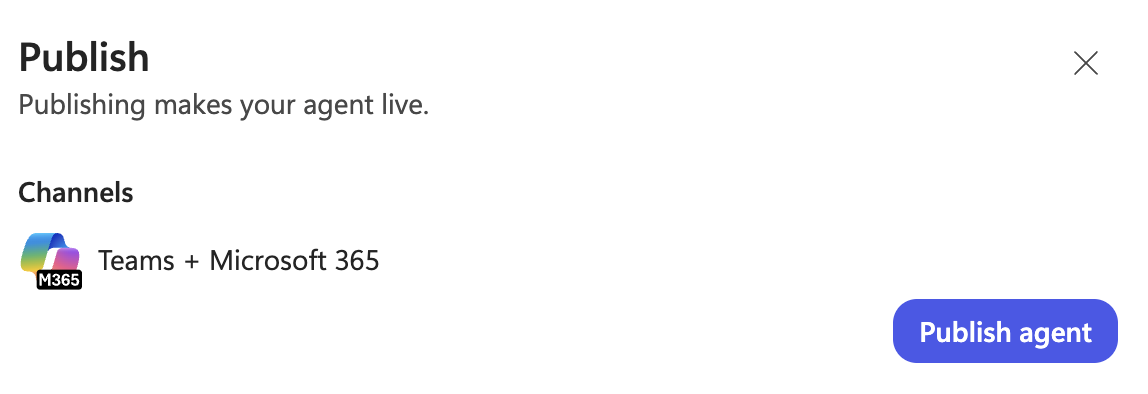
In the top right corner click Publish
-
Click Add Channel
-
Select Teams & Microsoft 365 Copilot
-
Go to the Channels tab. Click on Teams & Microsoft 365 Copilot
-
Select Teams, Microsoft 365 Copilot or both
-
Click Publish Agent
Step 11: Adding your agent in Teams
-
Open your Microsoft Teams application
-
Click on Apps in the left navigation pane
-
Click on the Agent you deployed. It will be located in the Built for your organisation section
Troubleshooting
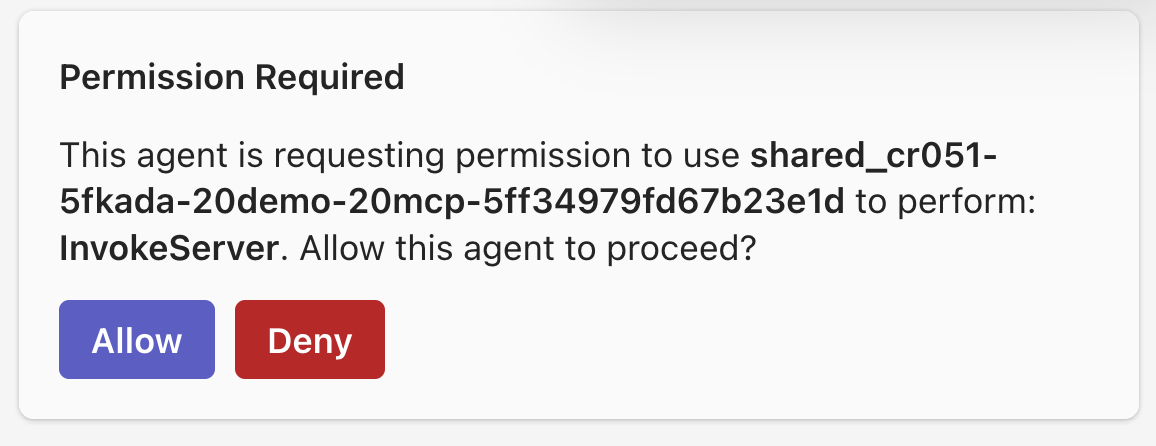
Permission Required
When the agent is initially deployed you may be asked to approve the permission to connect the MCP server. Click Allow to allow the connection
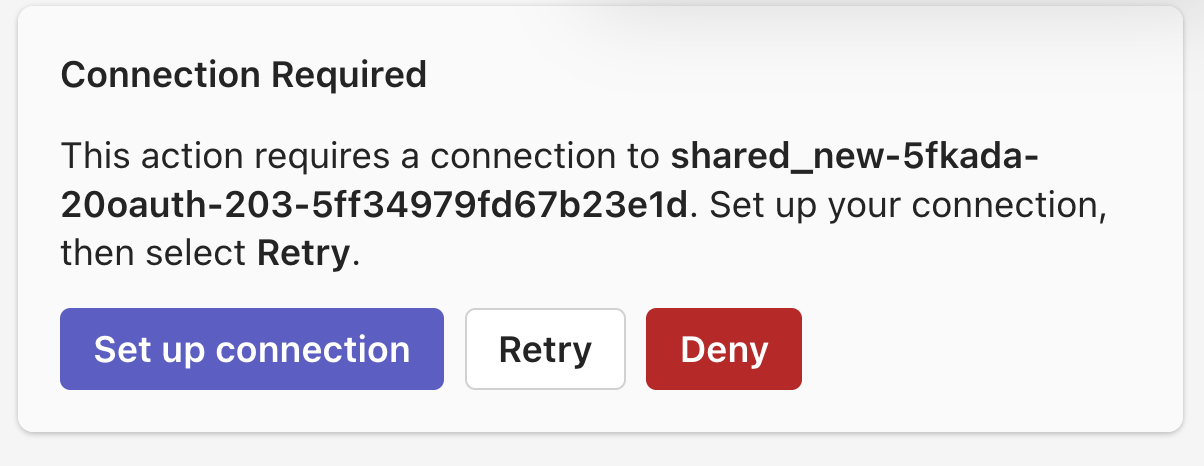
Connection Required
On occasion you may be required to authenticate. Click Set up connection and follow the prompts to authenticate your access to K