
A step-by-step guide for creating a Foundry resource and deploying an OpenAI model
This page summarises the following information specific for K / KDQ. You should check the following link for the most up to date information.
https://learn.microsoft.com/en-us/azure/foundry/foundry-models/how-to/deploy-foundry-models
Recommendation: Create a separate model deployment for K.AI and KDQ to manage separate guard rails and budgets.
Prerequisites
-
An Azure subscription
-
Permissions to create resources and deploy models (Foundry Owner role, or a custom role with the Microsoft.CognitiveServices/accounts/deployments/write permission)
Step-by-Step Instructions
Create a Foundry resource (if you don't already have one)
-
Sign in to the Azure AI Foundry portal (http://ai.azure.com ), or use the Azure Portal and search for “Azure AI Foundry” / “Azure OpenAI”
-
Select Create New → choose Microsoft Foundry Resource
-
In the Project tab fill in the subscription, resource group, region, and a name for the resource
-
Recommendation: Set the region to your local region to satisfy any data sovereignty requirements.
-
-
Select Create, and wait for deployment to finish
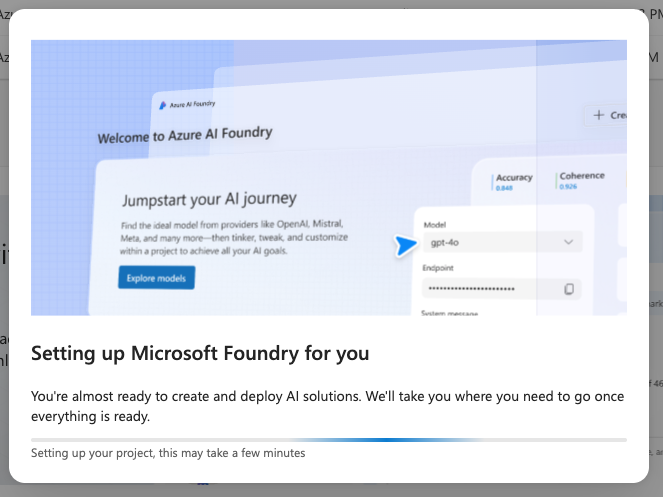
Once the resource deploys, open the Foundry Project you created. Projects organize your deployments, playgrounds, and connected data.
Go to the Deployments page
-
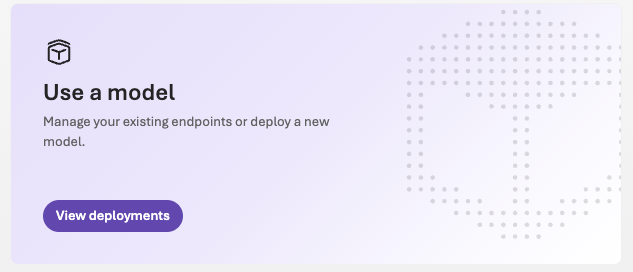
From the home page select View Deployments in the Use a model section
-
Select Deploy model → Deploy base model
Choose your model
-
Browse or search the catalog for the OpenAI model you want. For KDQ and K.AI we recommend GPT 5.4 or Sonnet 5
-
Model availability varies by Azure region — if a model isn't showing up, check your resource's region
-
Configure the deployment
-
Choose a deployment type: Standard, Global Standard, or Provisioned Throughput, depending on your latency, throughput, and cost needs
-
Set rate limits / capacity (tokens per minute) as needed
Deploy the model
Review your settings and select Deploy. Deployment usually completes within a few minutes.
Validate it
Once the status shows Succeeded, you'll land on the Playground, where you can chat with the model directly in the browser to confirm it's working.
Capture the integration details for KDQ and K.AI
Go to Details tab and copy the endpoint URL and the API key
Additional Notes
-
Fine-tuned models follow a similar flow but start from Fine-tuning rather than the base model catalog; the resulting custom model is deployed the same way.
-
You can also perform all of these steps via Azure CLI or Bicep for automation and CI/CD pipelines instead of using the portal.