Managing local users (Add, Edit, Delete, Reset Password)
This page will explain how to manage individual users when you are not using an enterprise account management system like Azure Active Directory.
This function is restricted to K Administrators
Step 1) Navigate to the User management page
Select Platform Settings in the side bar
In the pop-out side panel, under Administration click on Customisation
Check Enable Single Sign On is OFF
Select Configure Local Users

Step 2) Add User
Select Users in the Keycloak side panel and click Add user
Complete the mandatory details for your user and click Save
User name: The ID the user will log into K. This should match the user ID typically used in the organisation e.g. jdoe123
Email: This should be the primary email that notifications from K are sent to
Click on the Credentials tab
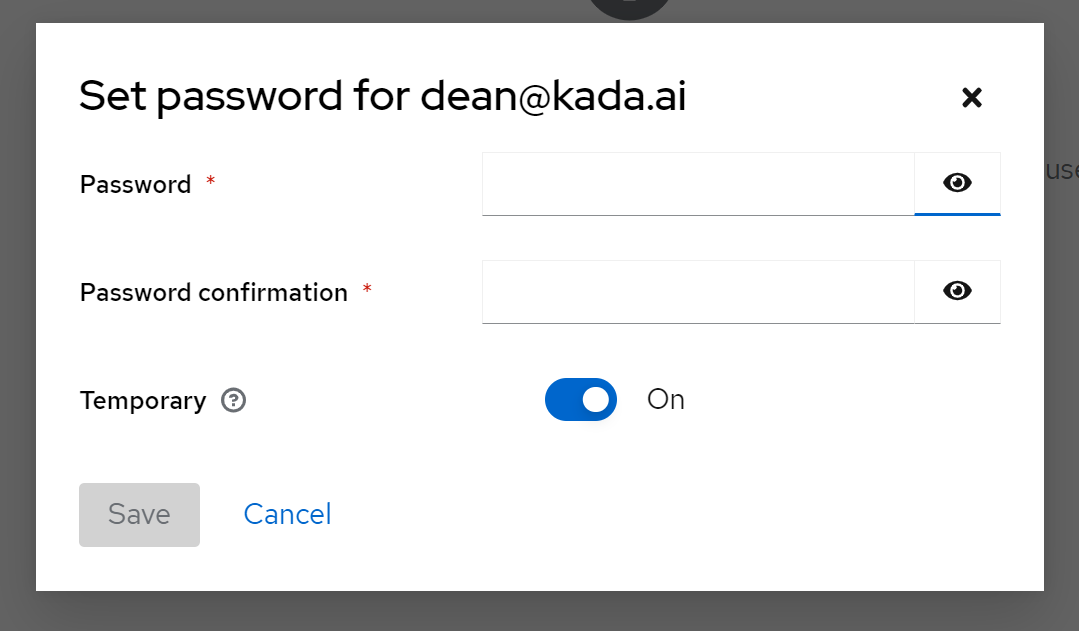
Click Set Password and type a Password and set Temporary to On.
By specifying this is a temporary password, the user will be forced to update their password the first time they log in to K

Click on the Groups tab and select from the list of available groups. Click Join Group
Each group is mapped to a role in K. Check the roles on this page K User Roles
Congratulations! your new user has now been setup. Please let them know of the K URL, login and password.
If there are no roles to select from, you will need to first setup the K roles. See Configuring Role Permissions for more information
Step 3) Maintaining User Profile - Password Reset
If a user has forgotten their password, log in to Keycloak via the User Administration Portal
Select Users in the side panel and search for the User
Click on the Users ID and select the Credentials tab
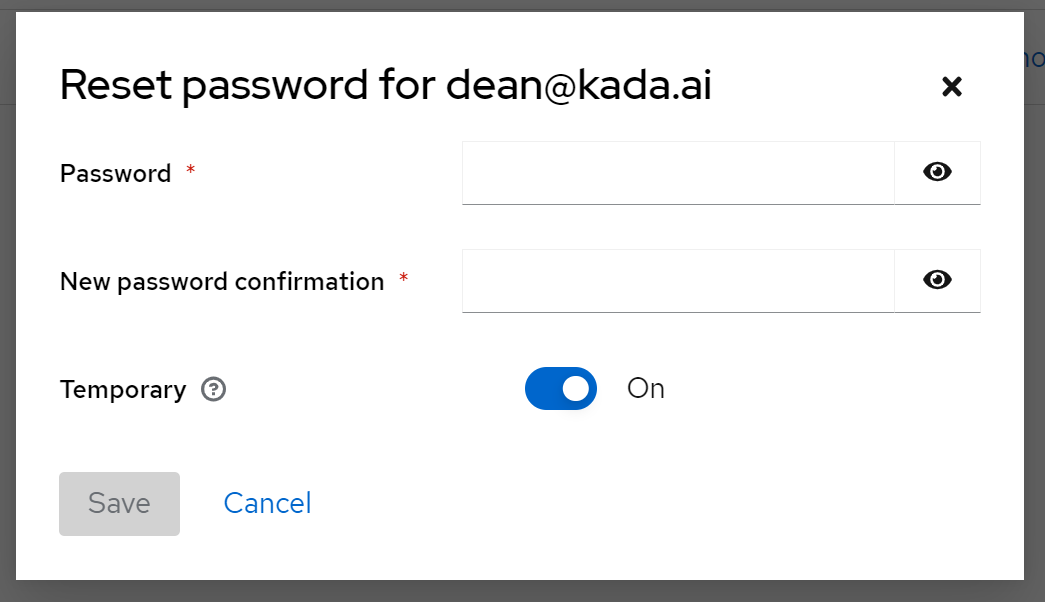
Click Reset Password and type a new temporary password and set Temporary to On.
By specifying this is a temporary password, the user will be forced to update their password the first time they log in to K
Click Save

