This feature is currently restricted to KADA Admins. Steps included here require Microsoft Admin access (Microsoft Admin Center and Entra)
K can be configured to use the KADA email service to deliver emails such as platform support and daily notifications.
You can also configure K to use your own organisations SMTP service to deliver emails. To configure your own service you will need a user (and password) configured on your SMTP service and details about your SMTP service to complete the setup.
Configuring Email
-
Select Platform Settings in the side bar
-
In the pop-out side panel click under Customisations
-
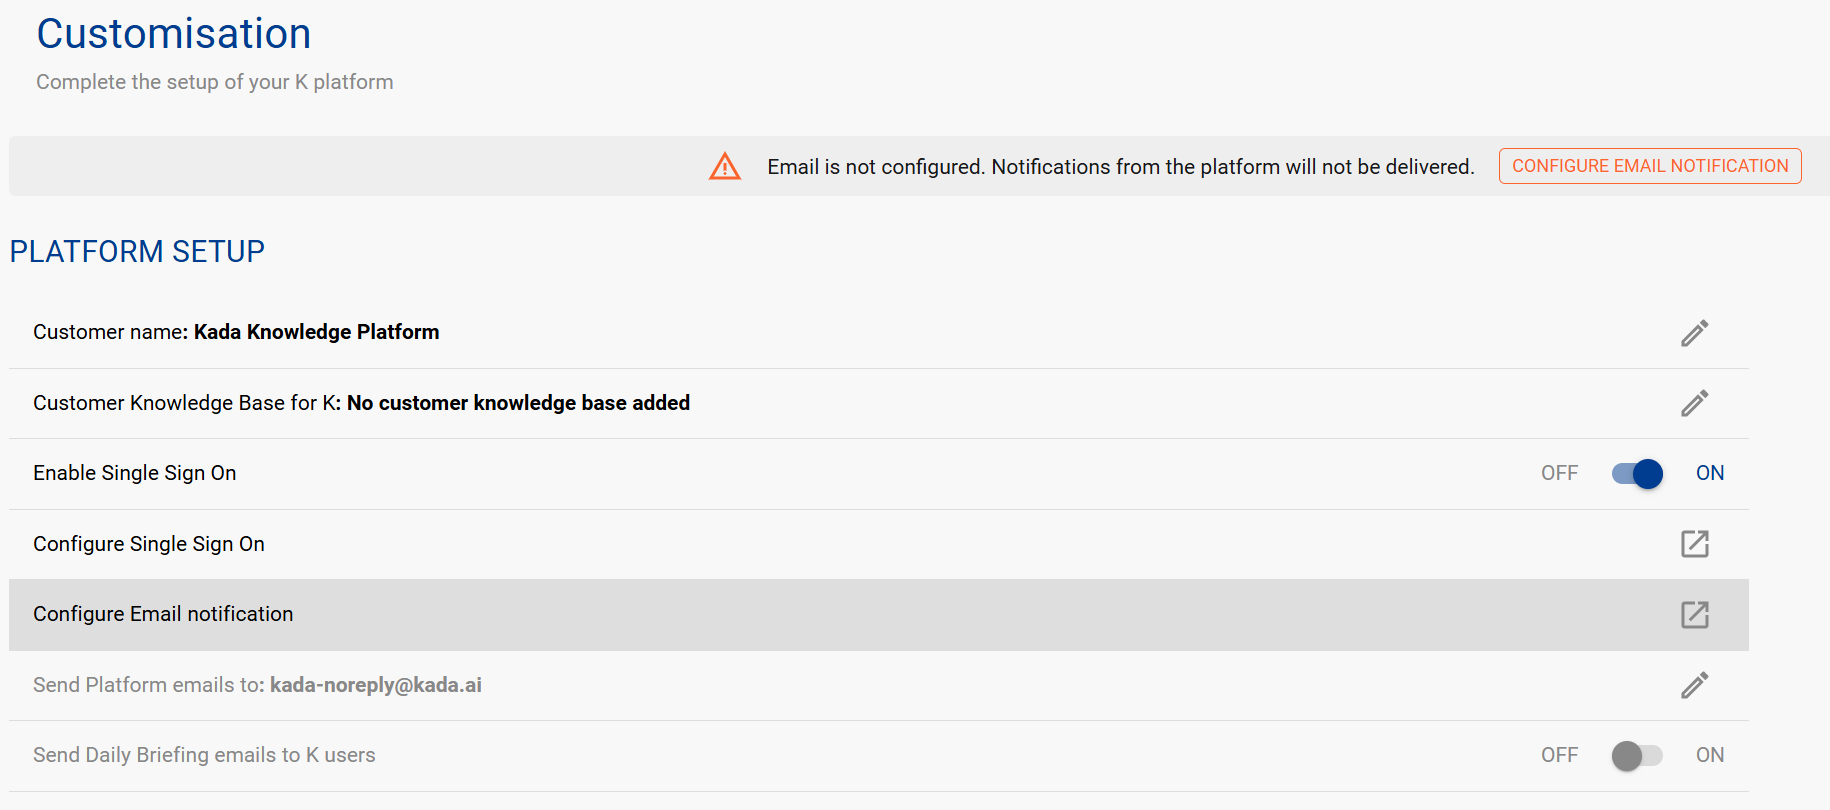
Under Platform Setup you will see the following email related settings
-
Click on Configure Email Notification
-
Click New Integration and fill in the details. Click Next
-
SMTP server: e.g. smtp.office365.com
-
SMTP port: e.g. 587
-
Username: e.g. kada-noreply@kada.ai
-
Password:
-
Sender email: e.g. kada-noreply@kada.ai
-
SSL enabled: e.g. True
-
-
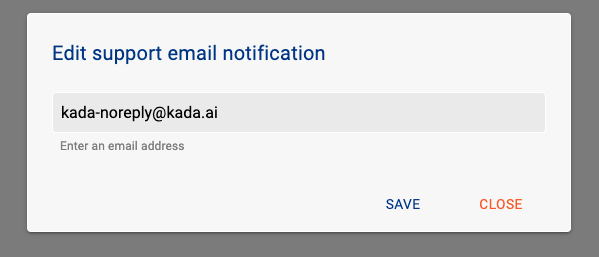
Add the email you wish to receive platform support notifications. Click Next & Save
If you wish to use the KADA service and the details have not been configured or provided to you, please let us know at support@kada.ai or by raising a support ticket.
Entra ID example: Setting up email with OAuth2
You can configure SMTP with OAuth2 by using a service principal. Note whilst you can reuse the same service principal used for SSO check with your IT Admin team if segregation of accounts is required.
Step 1: Register an application in Azure AD
-
Go to the Microsoft Azure portal and navigate to Azure Entra ID.
-
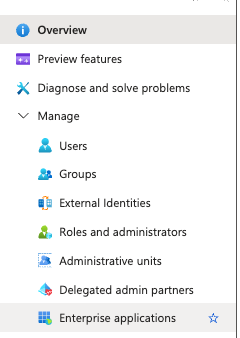
Go to App registrations and click + New registration.
-
Give your application a name and click Register.
-
From the app registration's Overview page, copy the Application (client) ID and Directory (tenant) ID. You will need these later.
-
Go to Certificates & secrets and create a Client secret.
Copy the Value of this secret immediately, as it will not be shown again. -
Go to Enterprise app. Find the application you registered. Click to open it
-
In the Overview tab - properties section, copy down the Object ID
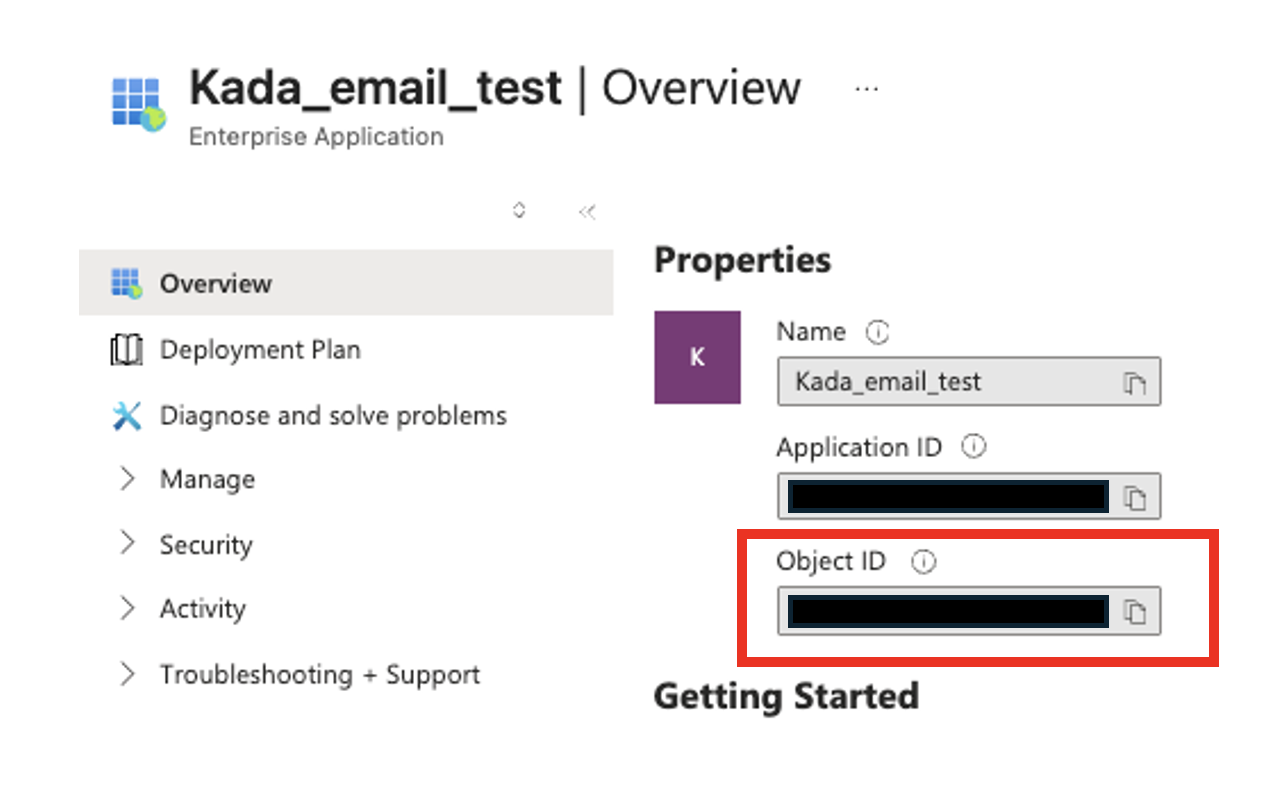
Do not use the Object ID from the App registration page. It is not the correct Object ID to use.
Go to the Enterprise App to find the correct Object ID
From this step you should have noted down the following:
-
Application (client) ID
-
Directory (tenant) ID
-
App secret value
-
Enterprise app: Object ID
Step 2: Configure API permissions
-
Go to App registration and open the App registration created in Step 1
-
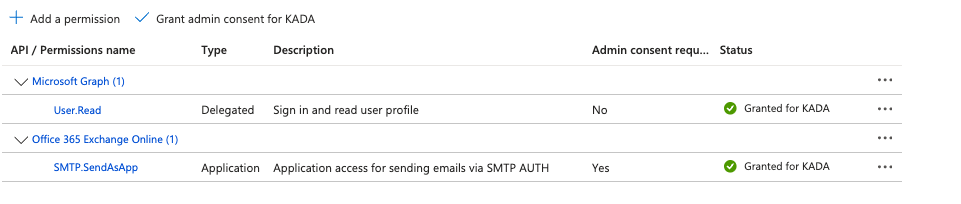
Navigate to API permissions.
-
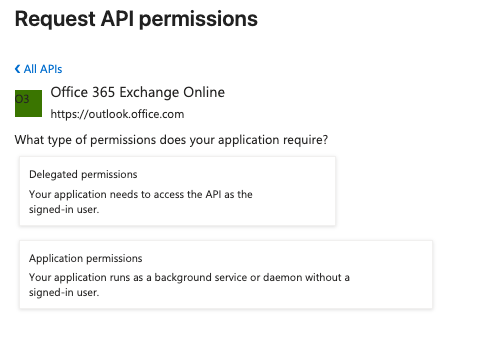
Select Add a permission. Go to the APIs my organization uses tab. Select Office 365 Exchange Online
-
Select Application permissions and find
SMTP.SendAsAppunderSMTP
Click Add permissions. An administrator must grant consent for this permission to take effect.

Step 3 (Optional): Create an user to send emails
If an existing user / mailbox will be used, note down the email address that will be used. It will be used in a later step
-
Log into Microsoft 365 Admin Center
-
Click on Users. Go to Active Users
-
Click Add a User
-
Create a user such as noreply@[yourdomain] e.g. noreply@kada.ai
-
No licenses need to be added
-
Note down the user name that was created.
Step 4: Configure access from the service principal to the user mailbox via Power Shell
Requires Power Shell
-
Open up Power Shell
-
Run the following commands
-
Install-Module -Name ExchangeOnlineManagement -allowprerelease Import-module -
ExchangeOnlineManagement Connect-ExchangeOnline -Organization <Directory (Tenant) Id from Step 1> -
New-ServicePrincipal -AppId "<App ID from Step 1>" -ObjectId "<Object ID from Step 1>" -
Add-MailboxPermission -Identity "<User from Step 3 e.g. noreply@kada.ai>" -User "Object ID from Step 1" -AccessRights FullAccess
-
See here for more information https://learn.microsoft.com/en-us/exchange/client-developer/legacy-protocols/how-to-authenticate-an-imap-pop-smtp-application-by-using-oauth#register-service-principals-in-exchange
Step 5: Configuring SMTP in K
Follow the steps above Setting up email except
-
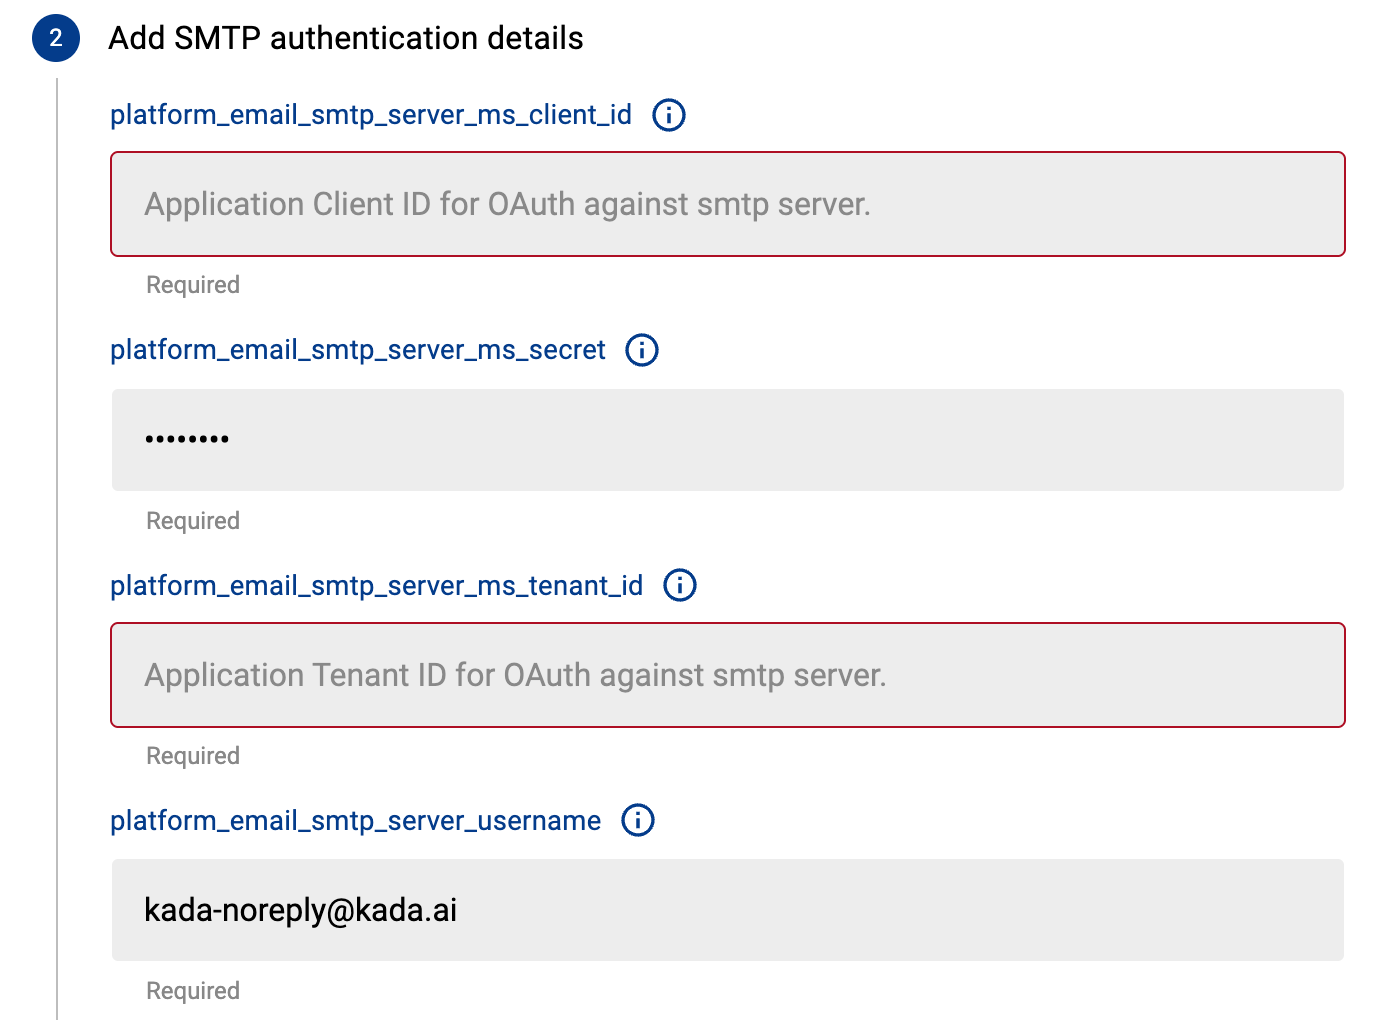
Select MICROSOFT_OAUTH2 as the authentication method

-
In the SMTP details enter the Tenant ID, Application ID and Secret value
-
Make sure to set the user name to be a valid Entra account email. This will be used to send the platform emails.
Configuring Platform Alerts
Platform alerts include:
-
Source extract or load failures
-
Job failures
Email must be enabled for Platform emails to be sent
-
Select Platform Settings in the side bar
-
In the pop-out side panel click under Customisations
-
In the Platform Setup, click on the edit button for Send Platform emails to

-
Enter the email address for where K platform alerts will be sent to.