Use the following steps to configure access new KDQ workspaces to specific users/user groups.
Require KDQ and K Admin access.
Requires Entra Admin access if Entra groups are used to manage workspace access
Step 1. Workspace role
When a workspace is created in KDQ a role is created for that workspace will be created. This role needs to be added to K User Administration portal
-
Log into KDQ
-
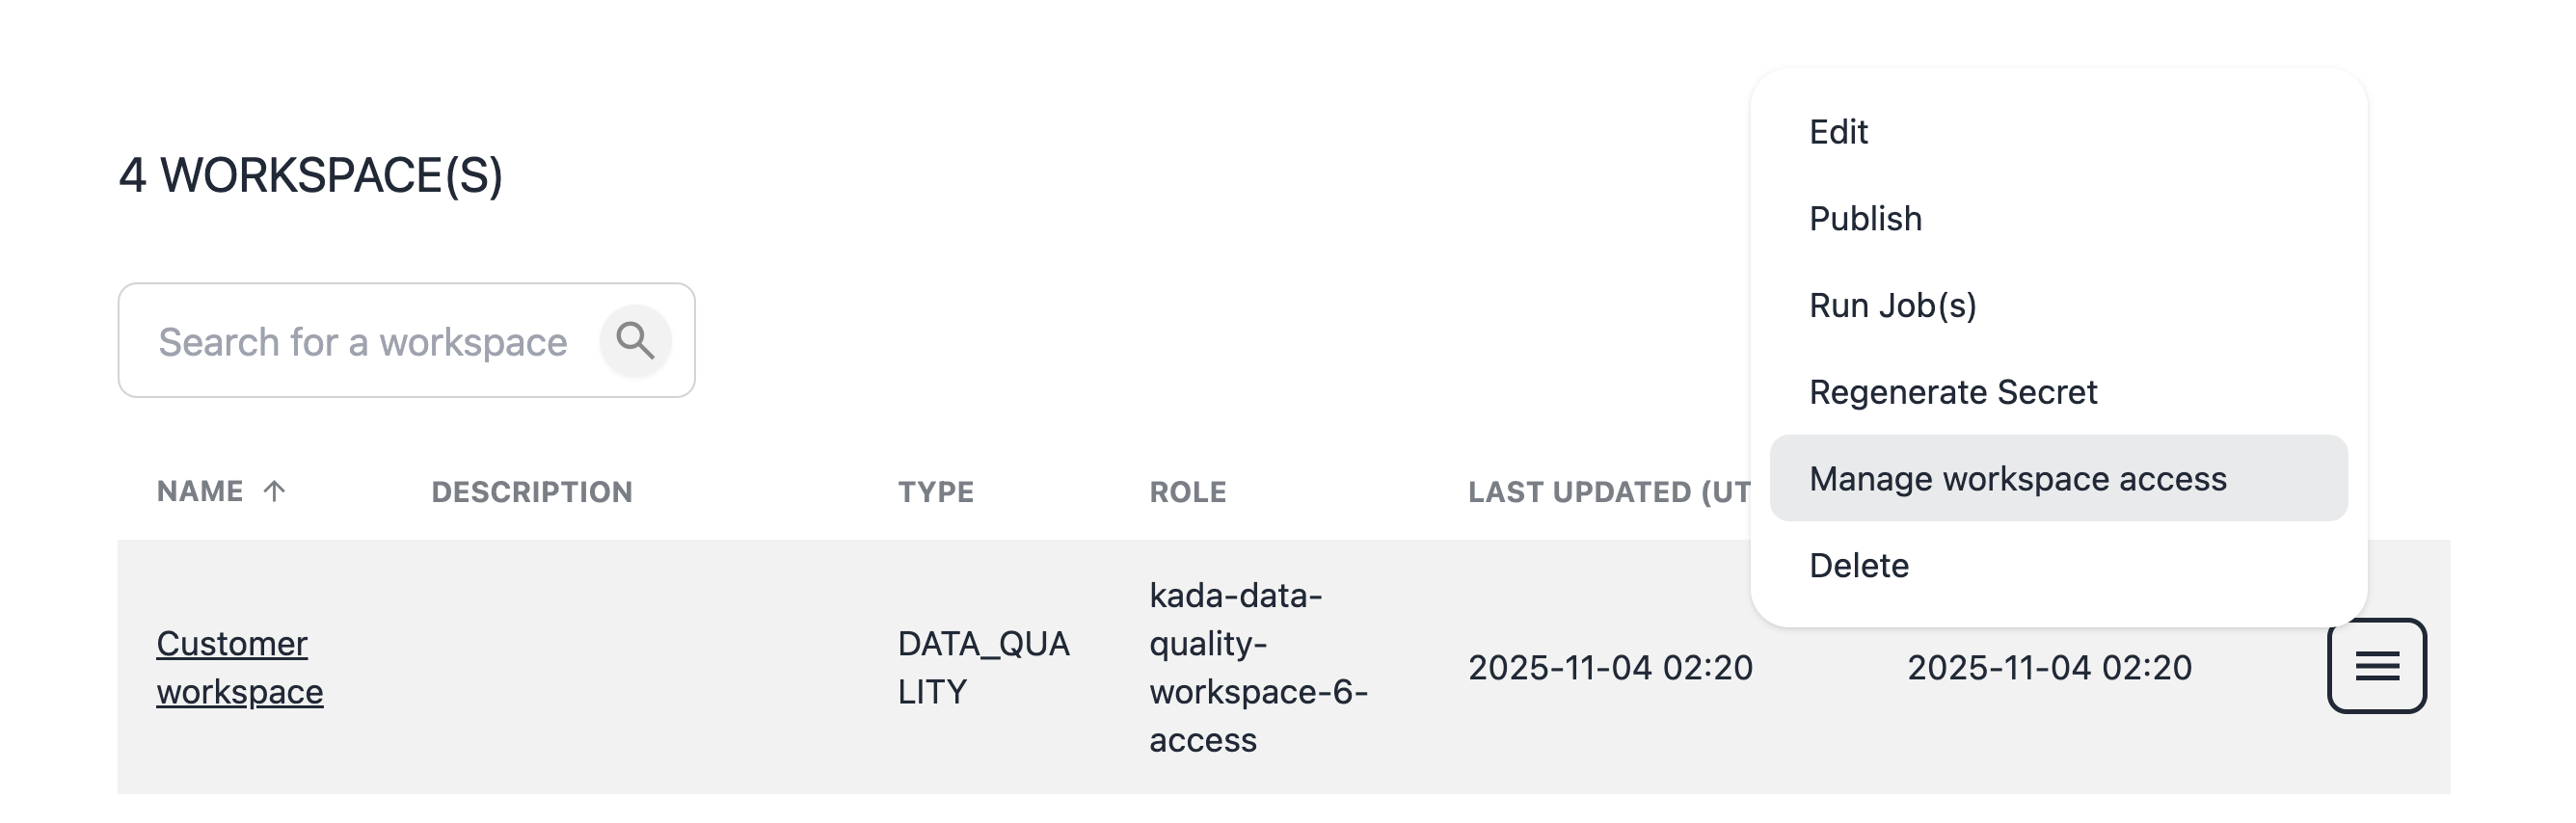
Select all Workspaces in the Workspace selector.
-
Select menu onthe workspace you want to configure access to
-
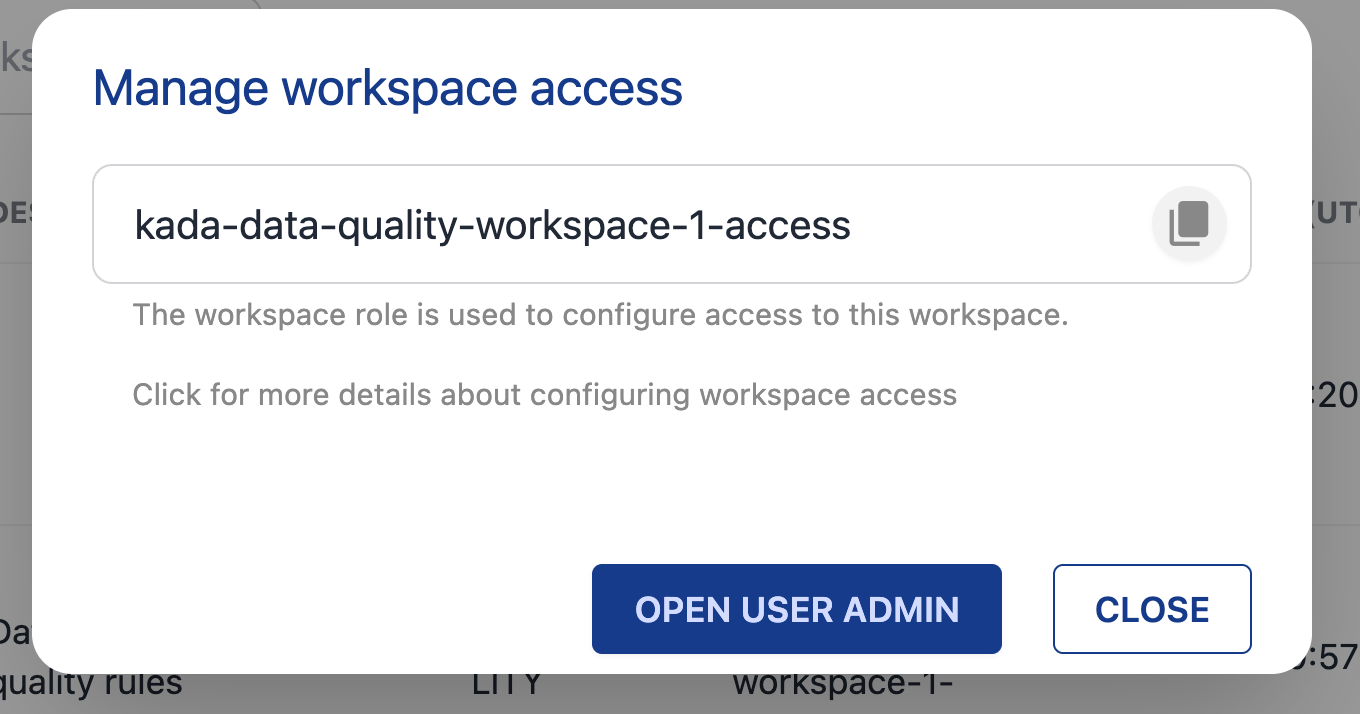
Note down the workspace role e.g.
kada-data-quality-workspace-1-access
Step 2. Configure the role in K User Administration (Keycloak)
Go to the User Admin portal
-
Use the Open User Admin button from KDW or
-
Log into K, select Platform Settings. Go to Customisations. Select Configure Single Sign On
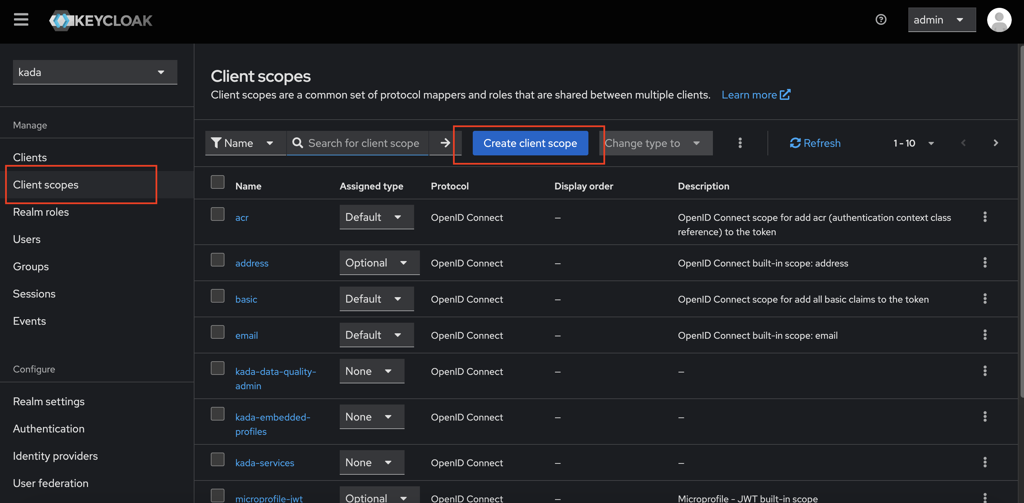
2.1 Create a Client Scope
-
Navigate to Client Scopes in the menu.
-
Click on Create Client Scope button.
-
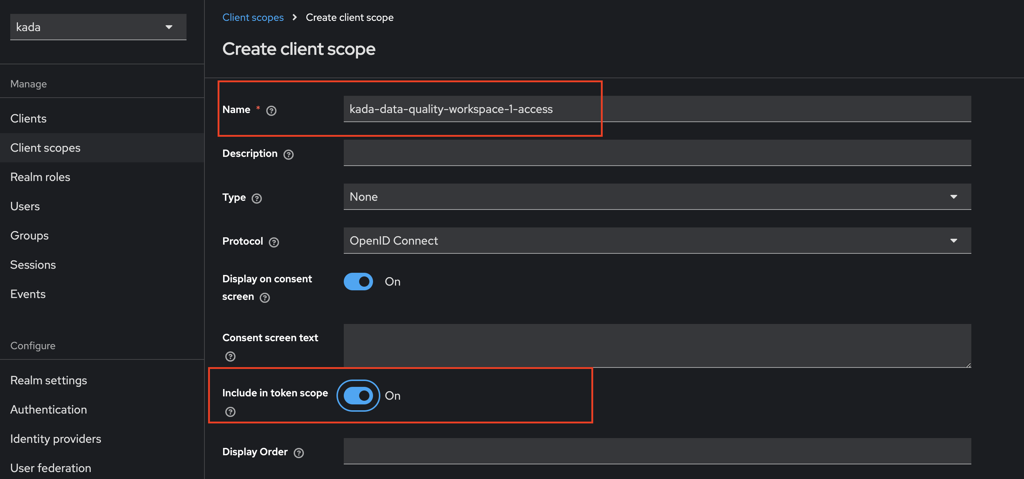
Set the Client Scope Name as the role name from Step 1 e.g.
kada-data-quality-workspace-1-access. -
Ensure you set Include in Token Scope to ON.
-
Click Save
2.2 Add the Client Scope to the Client
-
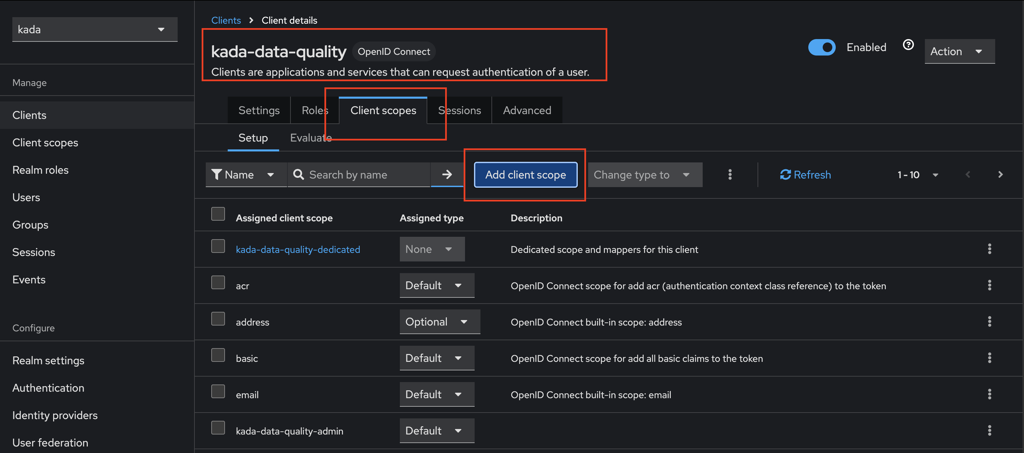
Navigate to Client in the menu. Click on kada-data-quality client.
-
Go to the Client Scopes tab.
-
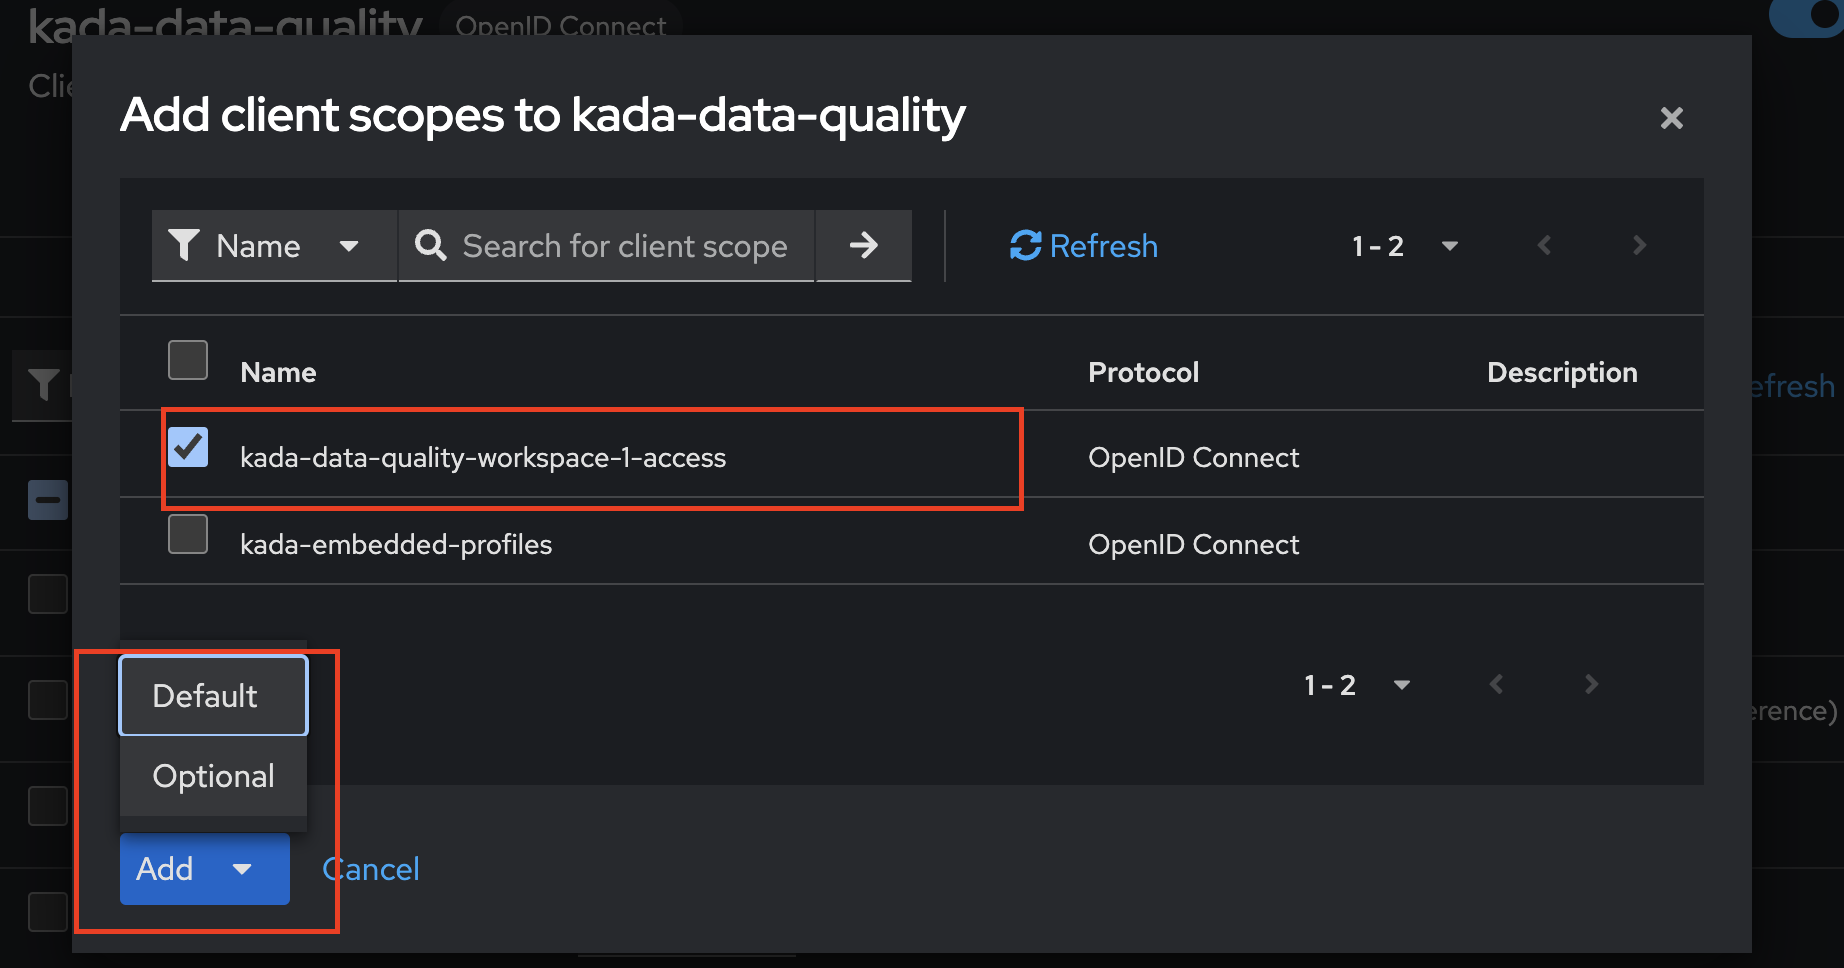
Click on Add Client Scope.
-
Select the newly created client scope,
kada-data-quality-workspace-1-access, and add it to the client. Click Add and select Default as the Assigned type.
2.3 Create a role
-
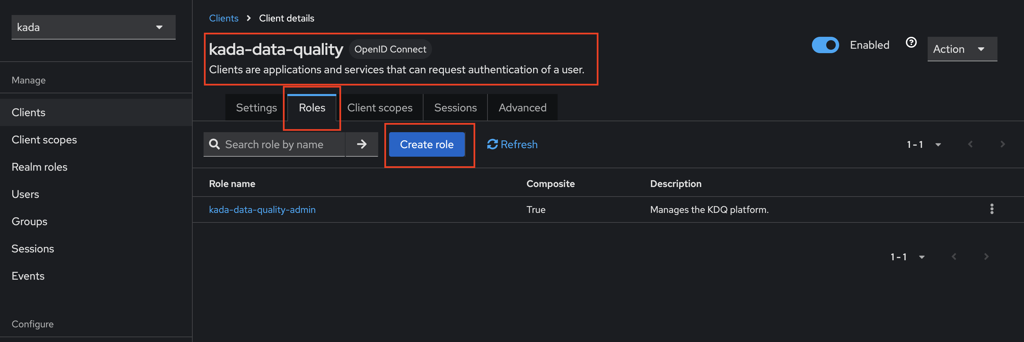
Navigate to the Client tab. Select the kada-data-quality client.
-
Click on the Roles tab.
-
Click Create Role.
-
Enter the Role Name as the same name as the role from Step 1
kada-data-quality-workspace-1-access. -
Go back to Client Scopes and select the scope
kada-data-quality-workspace-1-access. -
Click on the Scope tab.
-
Click Assign Role.
-
Search for the role
kada-data-quality-workspace-1-accessand assign it to the client scope. -
Click Save to create the role
3. Assign the role to users
There are several options to assign roles to user:
-
Direct role assignment
-
Via Groups (e.g. Entra Group)
3.1 Direct Role Assignment
-
Navigate to the Users tab
-
Select a user e.g.
isculpher. -
Go to the Role Mapping tab.
-
Assign the role
kada-data-quality-workspace-1-accessto the user.
Note: Users may need to log back in to KDQ to see the new workspace
3.2 Via Entra Groups
3.2.1 Entra
Requires Entra Admin access
Follow these steps to Create a new Entra Group and assign it to an App role in the same App registration created for Single Sign On: Configuring SSO with Azure Active Directory / Entra ID
Set the App role value to a relevant value and take note of it for the next step in K
|
Display Name |
Value |
|---|---|
|
KDQ Finance |
kdq_finance_user |
3.2.2 K Platform
Link the roles you created in Step 4 to the roles in the K platform.
-
Log into to your K platform instance ([customer].kada.ai)
-
Select Platform Settings in the side bar
-
In the pop-out side panel, under Administration click on Customisation
-
Click on Configure Single Sign On
-
Go to Identity Providers
-
Select the newly created Identify Provider you created in Step 2 and click on the Mappers tab
-
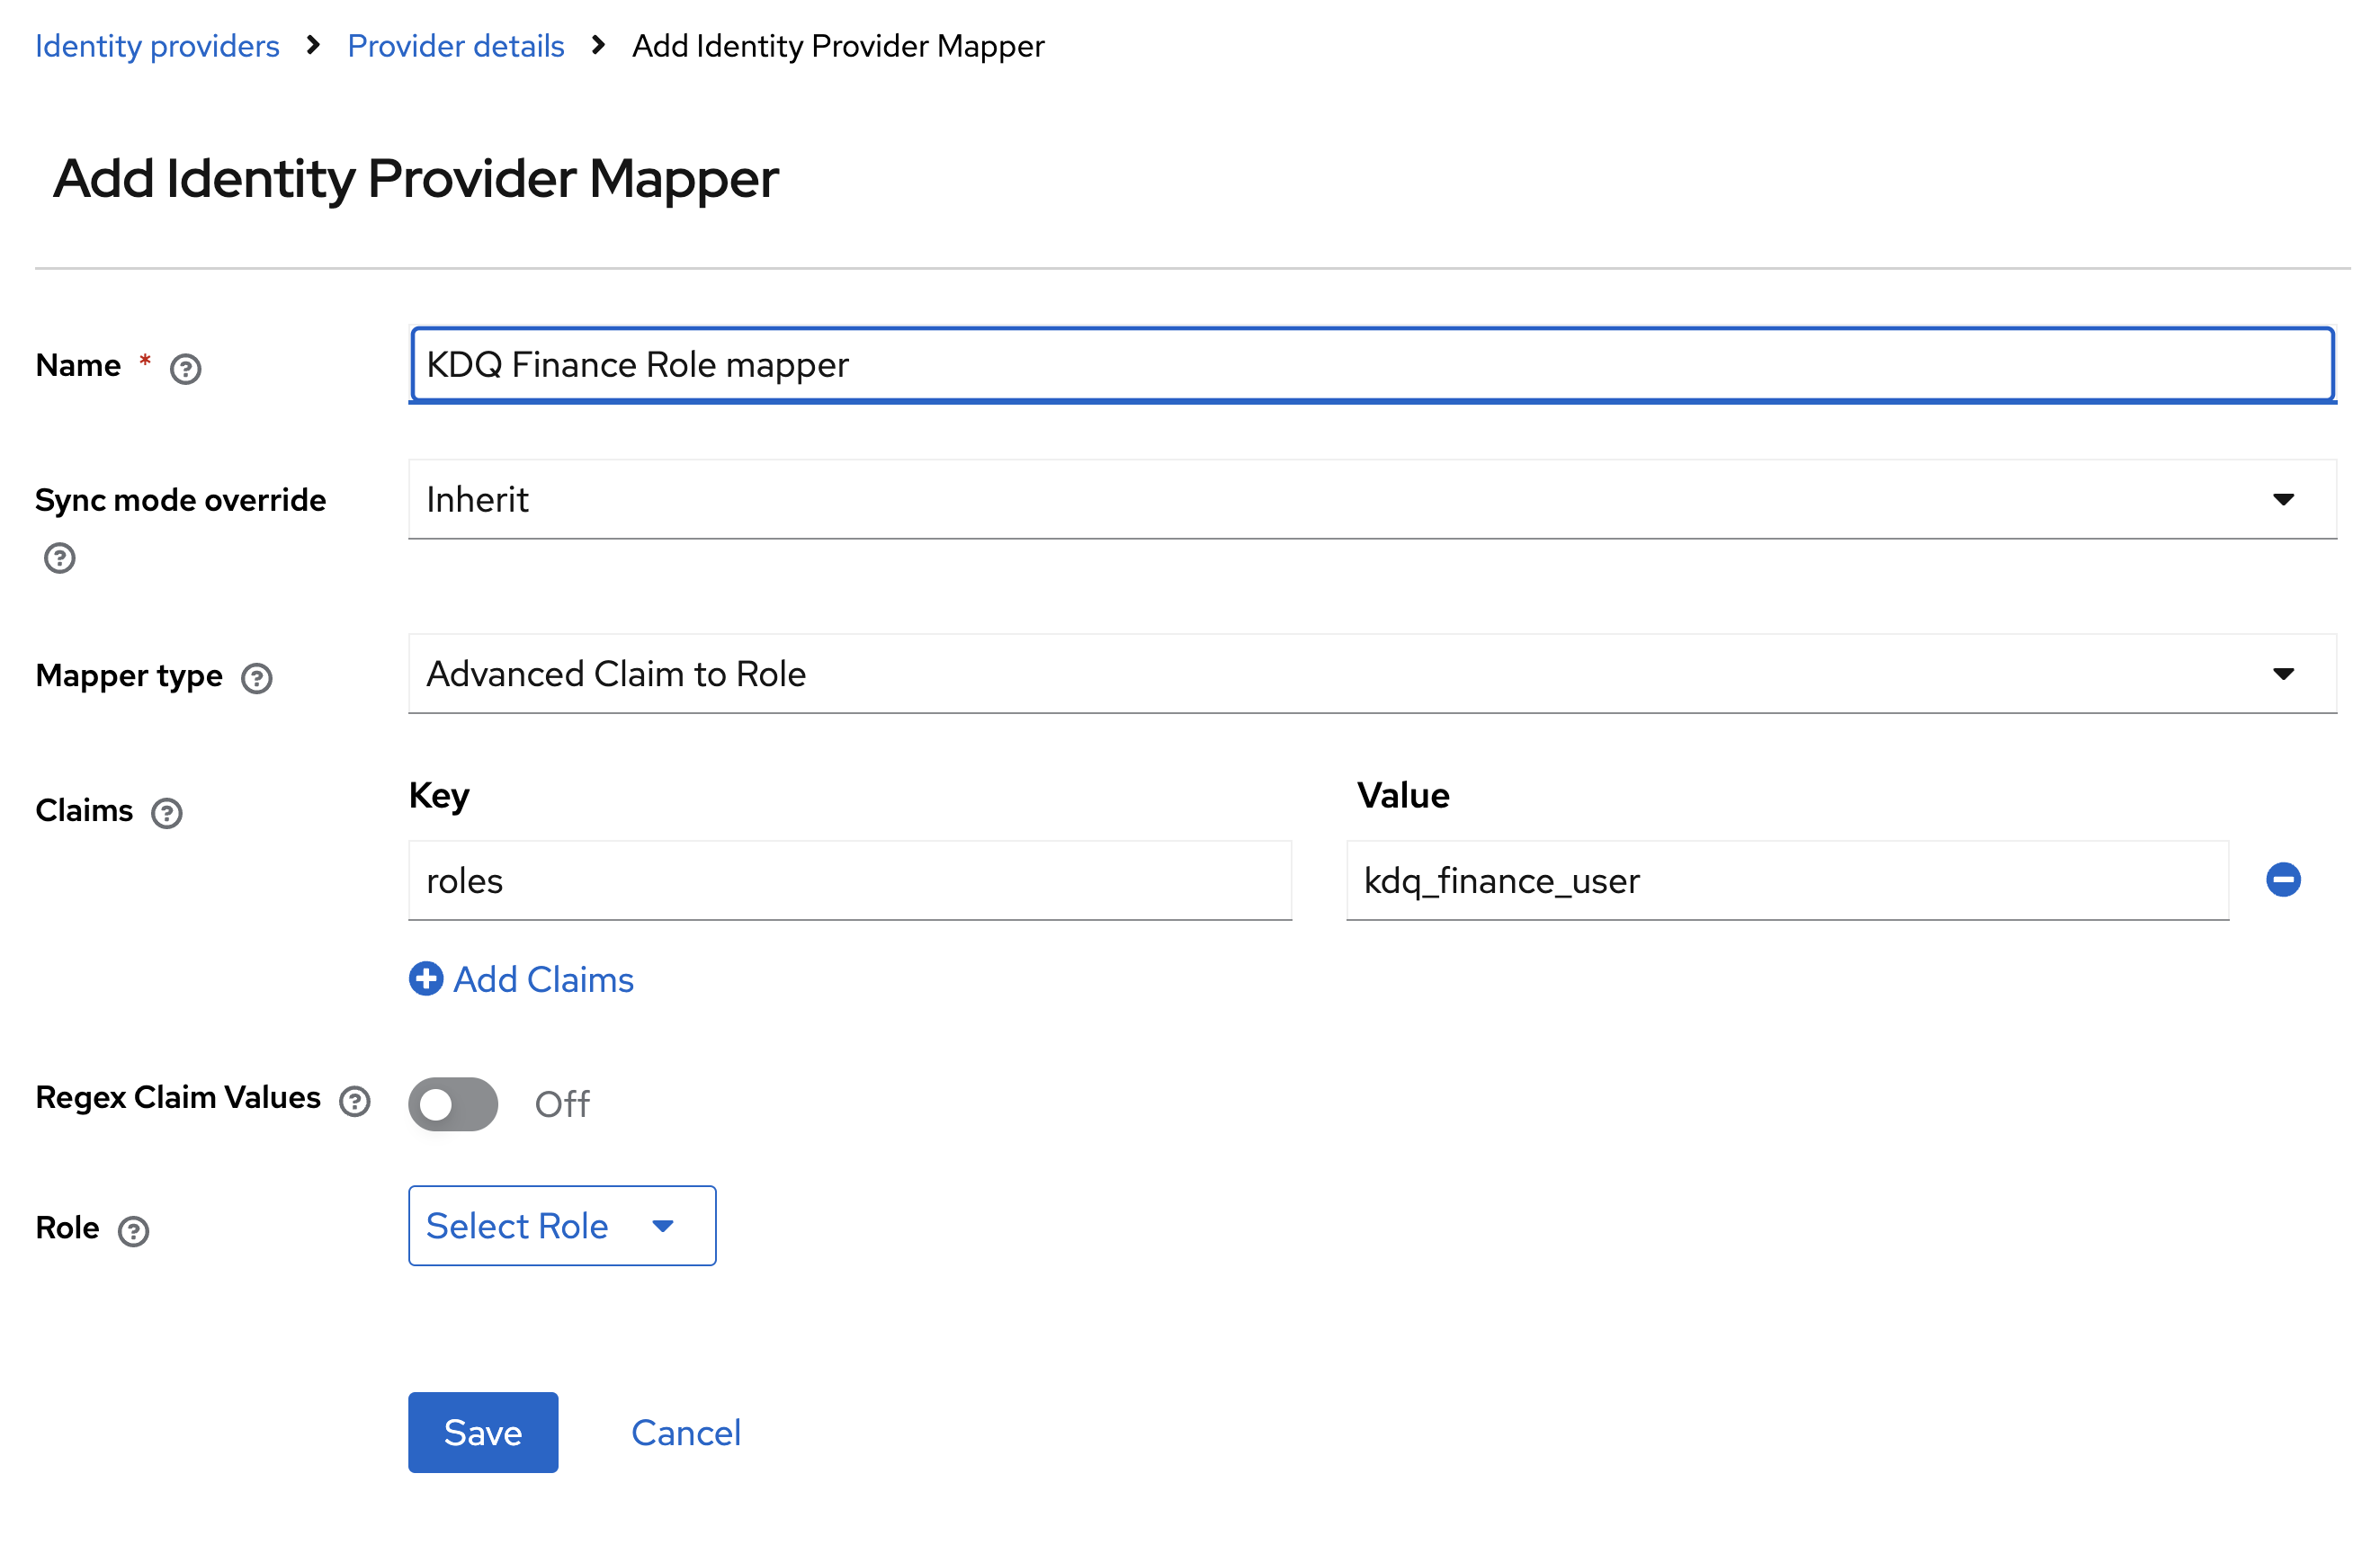
You will need click Add Mapper to create a mapping for each role. You will need to complete this step 5 times.
-
For each role
-
Set the mapper name: kdq_finance_role_mapper
-
Set Mapper Type to Advanced Claim to Role
-
Add roles to the Key field. Add Value from the Step above
-
For example: For the KDQ Finance the value is kdq_finance_user
-
-
Select Client Roles
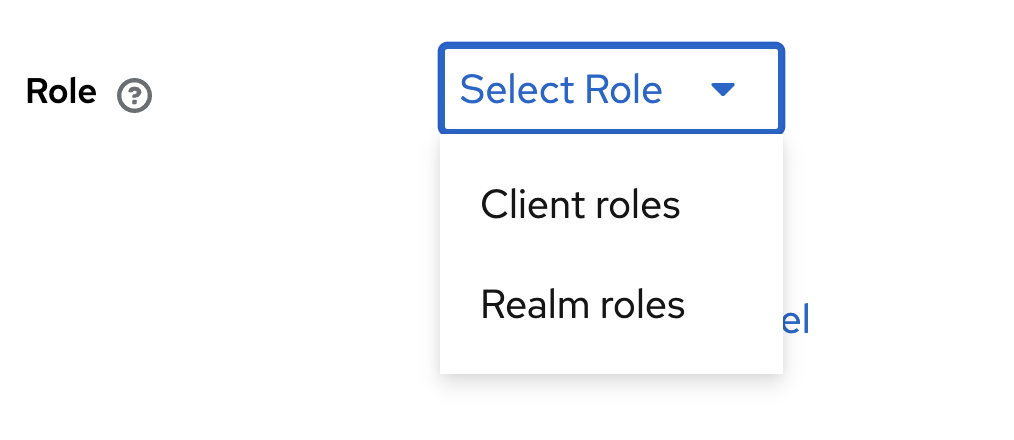
-
Select the role you previously created in Step 2.3
-
Click Save
-
-
Users will now be able to access KDQ directly and access workspaces they belong to via Entra groups.