A KDQ Workspace is the primary organisational unit within KADA Data Quality. It is where you define, manage, schedule, and review data quality checks for a specific domain, team, or purpose. Think of a Workspace as a dedicated project space for a set of DQ activities.
Your organisation may have one Workspace or many — for example, separate Workspaces for Finance, Customer Data, and Marketing, each owned by the relevant data team.
What a Workspace Contains
|
Component |
Description |
|---|---|
|
Checks |
The individual data quality rules defined and executed against your data sources |
|
Connections |
The data source connections available to checks in this Workspace (see KDQ Connections) |
|
Schedules |
Configured run schedules that automatically trigger checks on a recurring basis |
|
Results |
The historical results of all check runs, including pass/fail status and metrics |
|
Members |
The users with access to this Workspace and their assigned roles (see Configuring KDQ Workspace Access) |
Creating a Workspace
🔒 Only users with the KDQ Admin platform role can create new Workspaces.
Step 1 — From the KDQ home screen, click + New Workspace.

Step 2 — Enter the Workspace details:
|
Field |
Description |
|---|---|
|
Name |
A clear, descriptive name (e.g. "Finance Data Quality", "Customer Domain DQ") |
|
Description |
A brief summary of the purpose of this Workspace |
|
Default Connection |
The primary data source connection this Workspace will use |
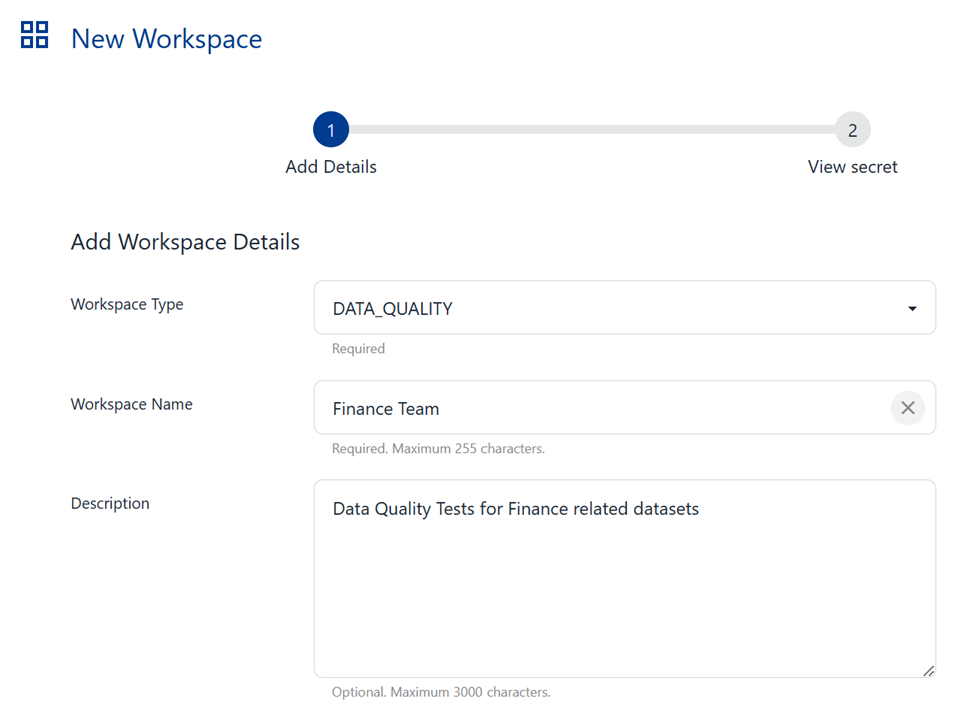
Step 3 — Click Create. You will be taken to the new Workspace where you can begin adding checks.
-
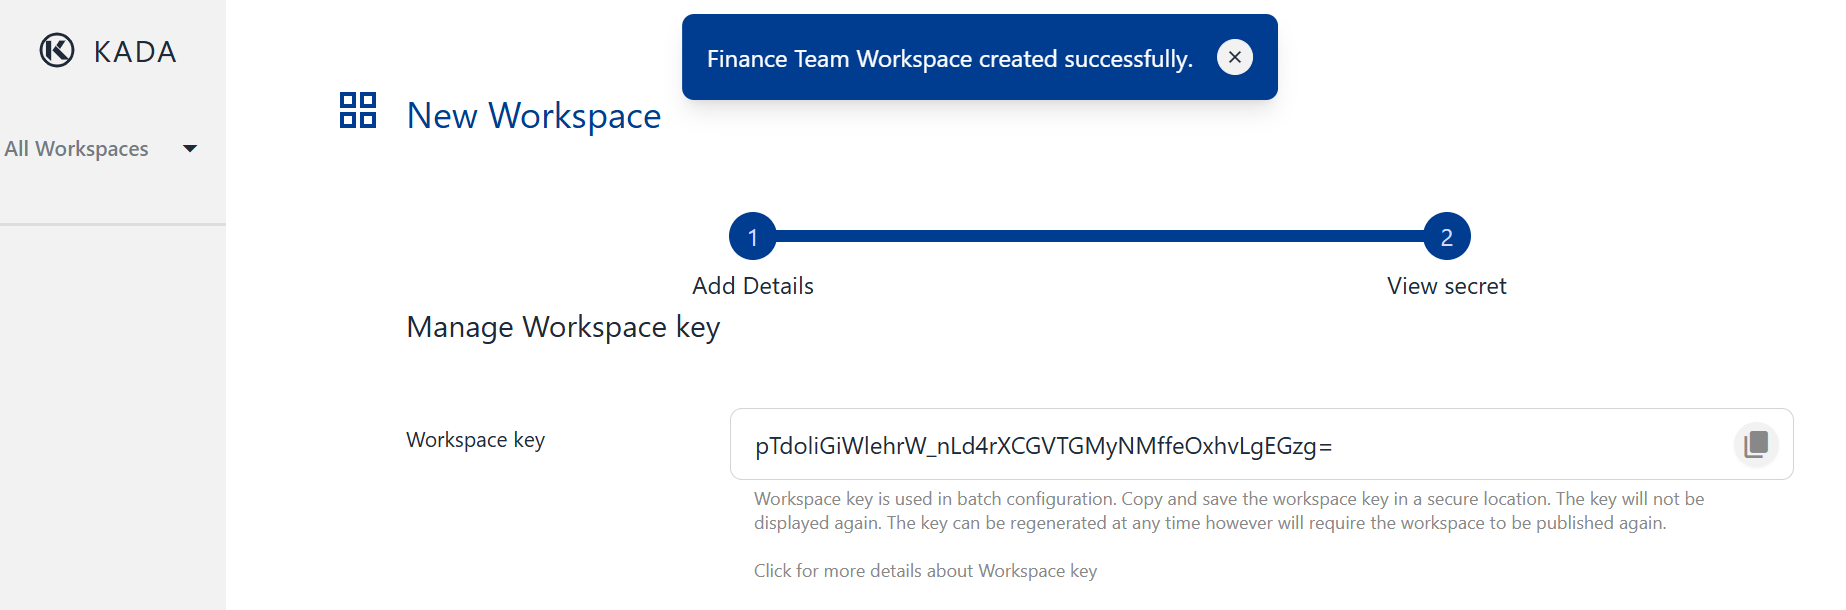
A pop-up will appear confirming your new Workspace has been created and your Workspace Key will be displayed.
-
Save this workspace key for future configuration purposes
-
-
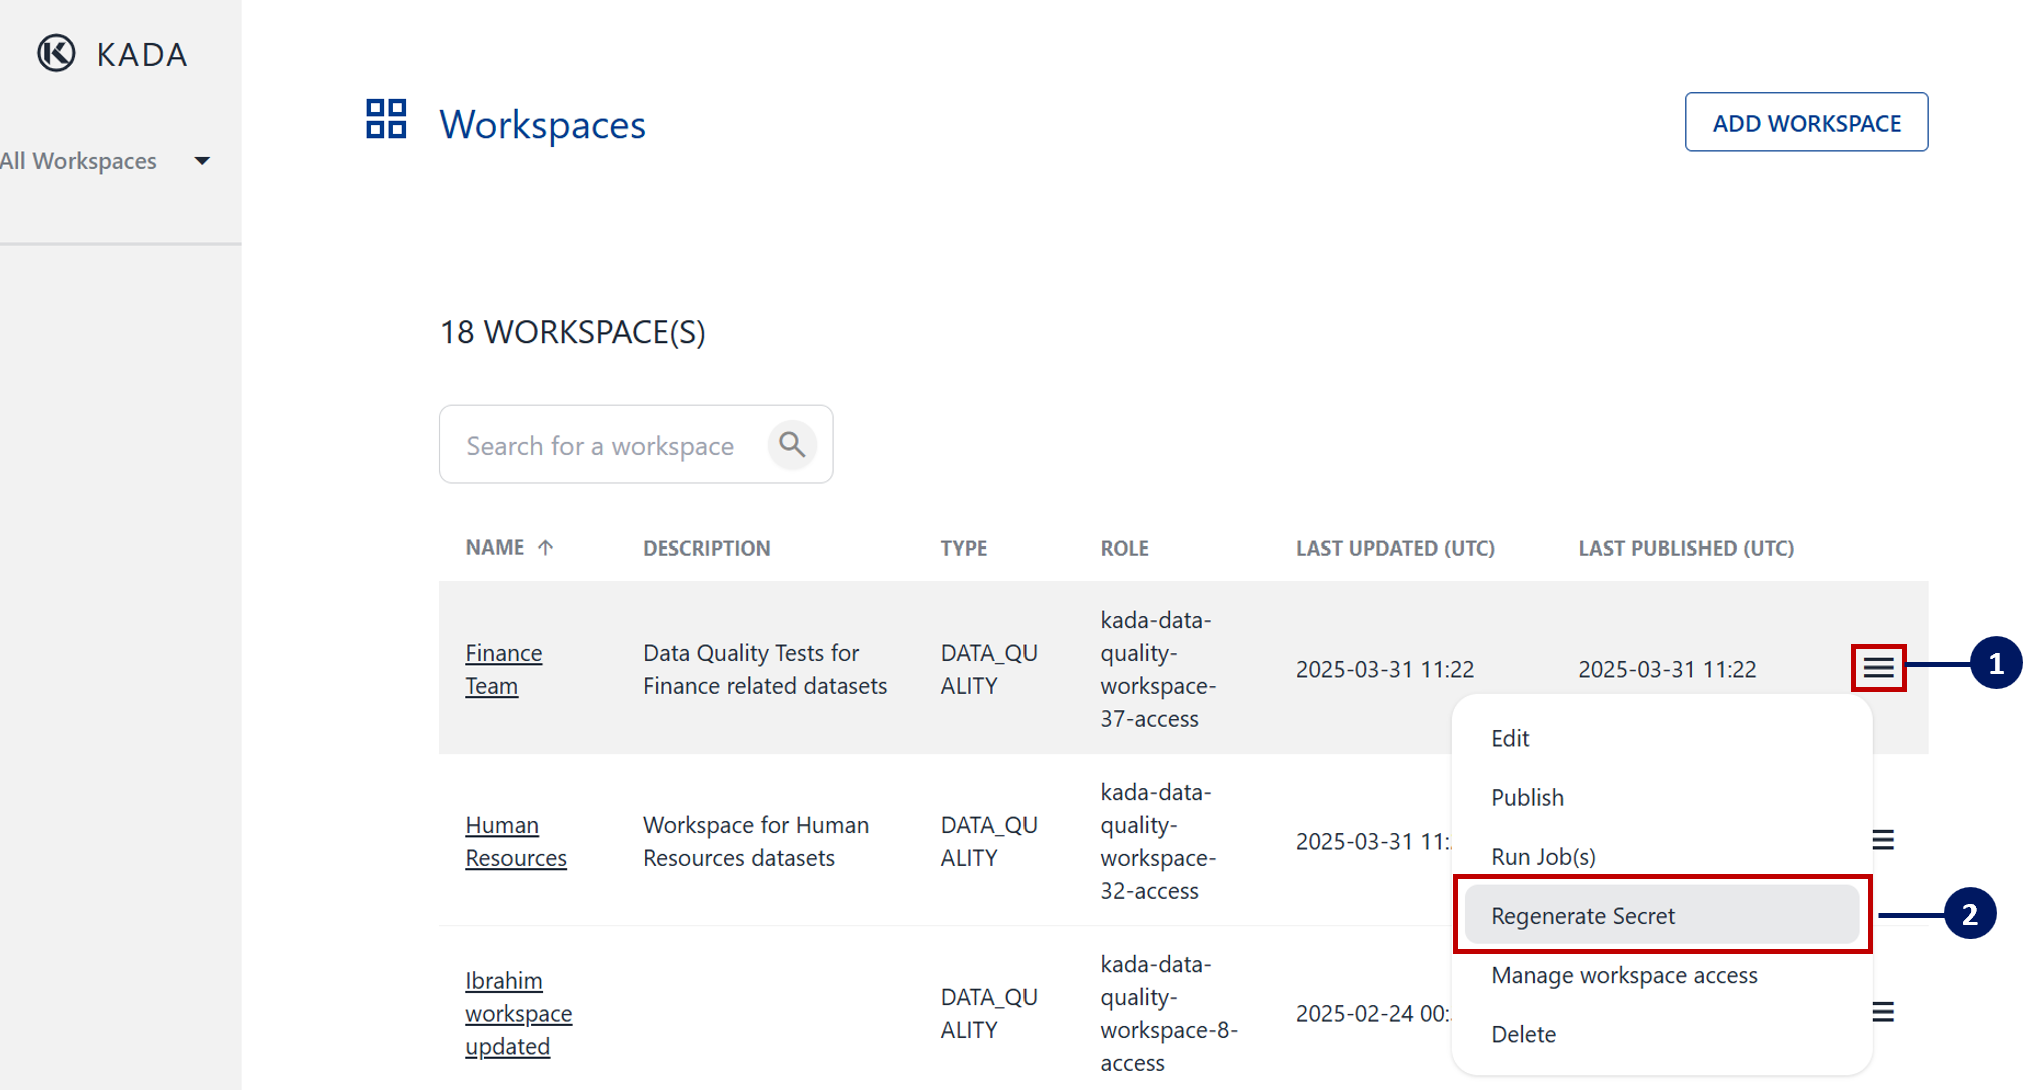
If you lose your workspace key, you can regenerate your secret via the main menu at anytime
Defining Data Quality Checks
Within a Workspace, checks are the core unit of work. Each check defines:
-
The data asset to check — table, view, or column
-
The rule to apply — e.g. not null, unique, referential integrity, custom SQL assertion
-
The threshold for failure — e.g. fail if more than 1% of rows are null
-
The connection to use — which configured connection to run the check against
Check Types
|
Check Type |
Description |
|---|---|
|
Not Null |
Asserts that a column contains no null values (or below a defined threshold) |
|
Uniqueness |
Asserts that all values in a column are unique |
|
Referential Integrity |
Validates that values in one column exist in a reference column |
|
Row Count |
Asserts that a table has a minimum (or expected) number of rows |
|
Freshness |
Asserts that data has been updated within a defined time window |
|
Custom SQL |
Define your own assertion using a SQL query — the check passes if the query returns zero rows |
|
Distribution |
Monitors the statistical distribution of a column over time and alerts on significant shifts |
Scheduling Checks
Checks can be run manually (on demand) or on a recurring schedule.
To set up a schedule:
-
Open the Workspace and navigate to Schedules
-
Click + New Schedule
-
Select the checks to include in this schedule
-
Set the frequency (hourly, daily, weekly, or custom CRON expression)
-
Save the schedule
⚙️ For checks to run on schedule, the Workspace's connection must be active and healthy. KDQ will notify Workspace admins if a scheduled run fails due to a connection issue.
Reviewing Results
After checks run, results are visible in the Results tab of the Workspace. For each check run you can see:
-
Pass / Fail status
-
Number of rows evaluated
-
Number of rows failing the check (where applicable)
-
Timestamp of the run
-
Trend over time (for recurring checks)
Results are also pushed to the K platform when sync is configured — see Synchronising KDQ Results to K for details.
Managing Workspaces
|
Task |
Where to do it |
|---|---|
|
Rename or update a Workspace |
Settings → Workspace Settings |
|
Add or remove members |
Settings → Members (see Configuring KDQ Workspace Access) |
|
Archive a Workspace |
Settings → Workspace Settings → Archive |
|
Delete a Workspace |
Contact your KDQ Admin — deletion is permanent and removes all check history |
💡 Next step: Once your Workspace is running checks, learn how to surface those results in the K platform via Synchronising KDQ Results to K.