
This page will walkthrough the setup of Azure Data Factory in K using the direct connect method.
Integration details
|
Scope |
Included |
Comments |
|---|---|---|
|
Metadata |
YES |
See below |
|
Lineage |
YES |
|
|
Usage |
YES |
|
|
Sensitive Data Scanner |
N/A |
|
Known limitations
-
Not all sources and destinations are included in the metadata extraction. Improvements are planned to provide wider coverage.
-
Sources Implemented:
-
SNOWFLAKE
-
Step 1) Enabling Azure Data Factory Admin APIs to be accessible to an AD Group
This step is performed by the Azure Data Factory Admin.
-
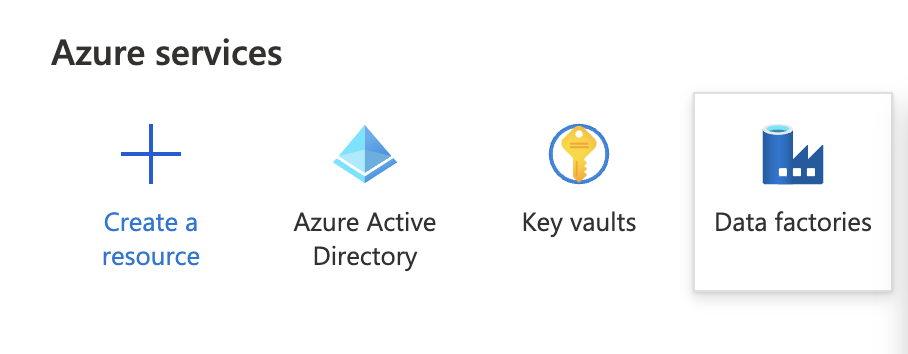
Under Azure services click on Data factories
-
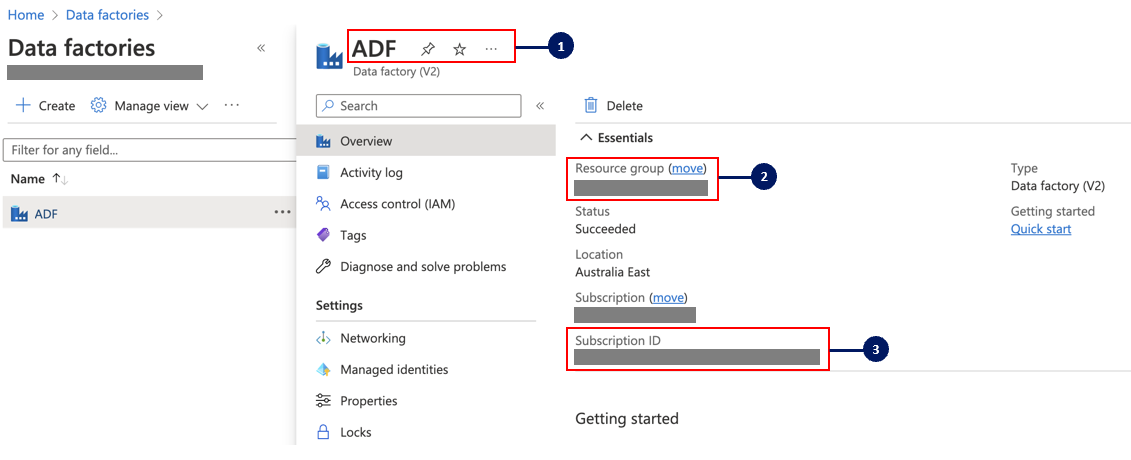
Locate the Data Factory that you would like to connect to K
-
Click on Overview to copy the below details for a later step:
-
Factory name
-
Resource group name
-
Subscription ID
-
Step 2) Registering Azure Data Factory App in Azure AD
This step is performed by the Azure AD Admin.
-
Log in to your company's Azure Portal and open the Azure Active Directory page
-
Select App Registration in the side panel and click New registration
-
Complete the registration form
-
Name: Enter a name for the integration e.g. KADA Azure Data Factory API Integration
-
Supported account types: Select Accounts in this organisation directory only
-
Redirect URL: Add Web / https://www.kada.ai
-
-
Click Register to complete the registration
-
Click on the newly created KADA Azure Data Factory API Integration App
-
Save the Application (client) ID and Directory (tenant) ID for use in a later step
-
Click on Endpoints and save the URL for OpenID Connect metadata document for use in a later step
-
Select Certificates & secrets in the side panel and click New client secret
-
Complete the new secret form and save the Secret Value for use in a later step
Make sure you send all of the information from Step 1 and Step 2 to the K Admin so that they can complete step 4.
-
Factory name
-
Resource group name
-
Subscription ID
-
Application (client) ID
-
Directory (tenant) ID
-
Secret Value
Step 3) Update your Azure Data Factory access control
This step is performed by the Azure Data Factory Admin.
To ensure your Azure Data Factory can connect to K, you will need to provide the Azure Data Factory with the correct Role Assignment.
-
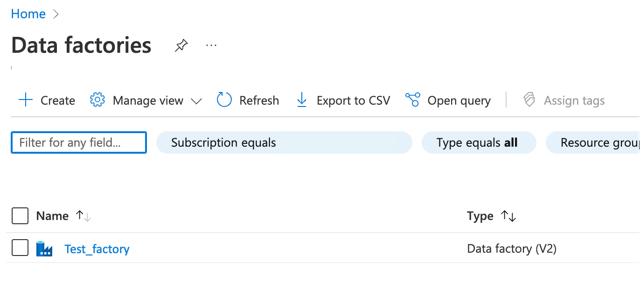
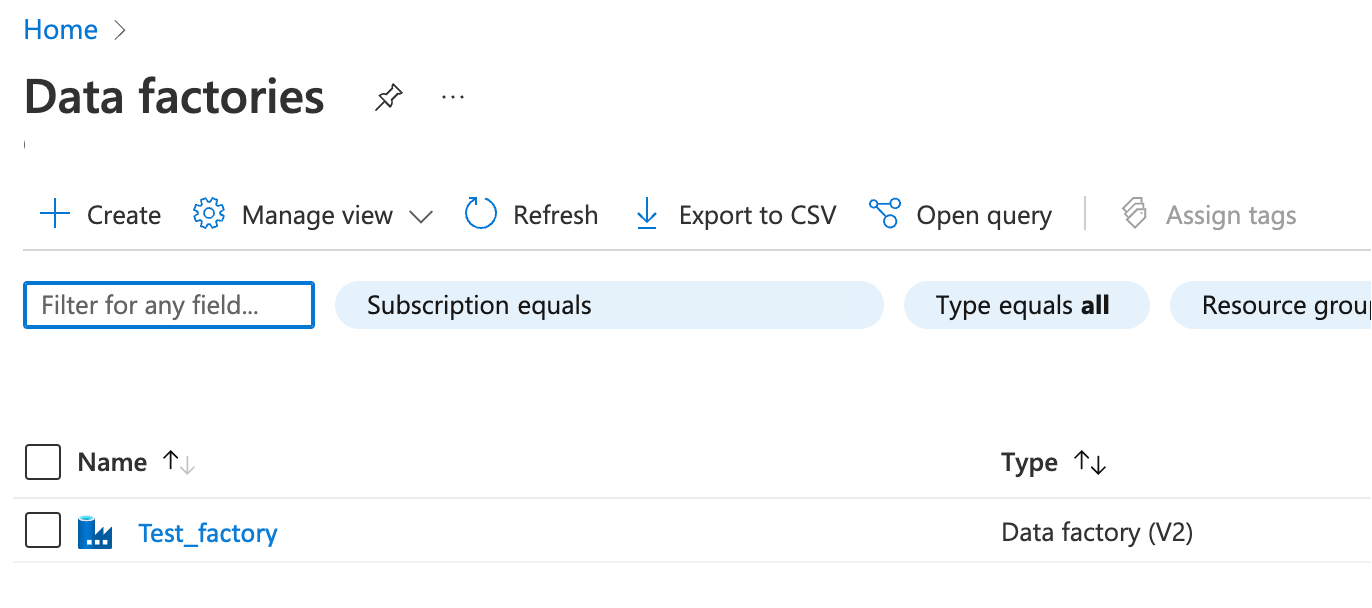
Follow Step 1 to navigate to your Data Factory you wish to profile. You will need to perform the following steps for each Data Factory you wish to profile.
-
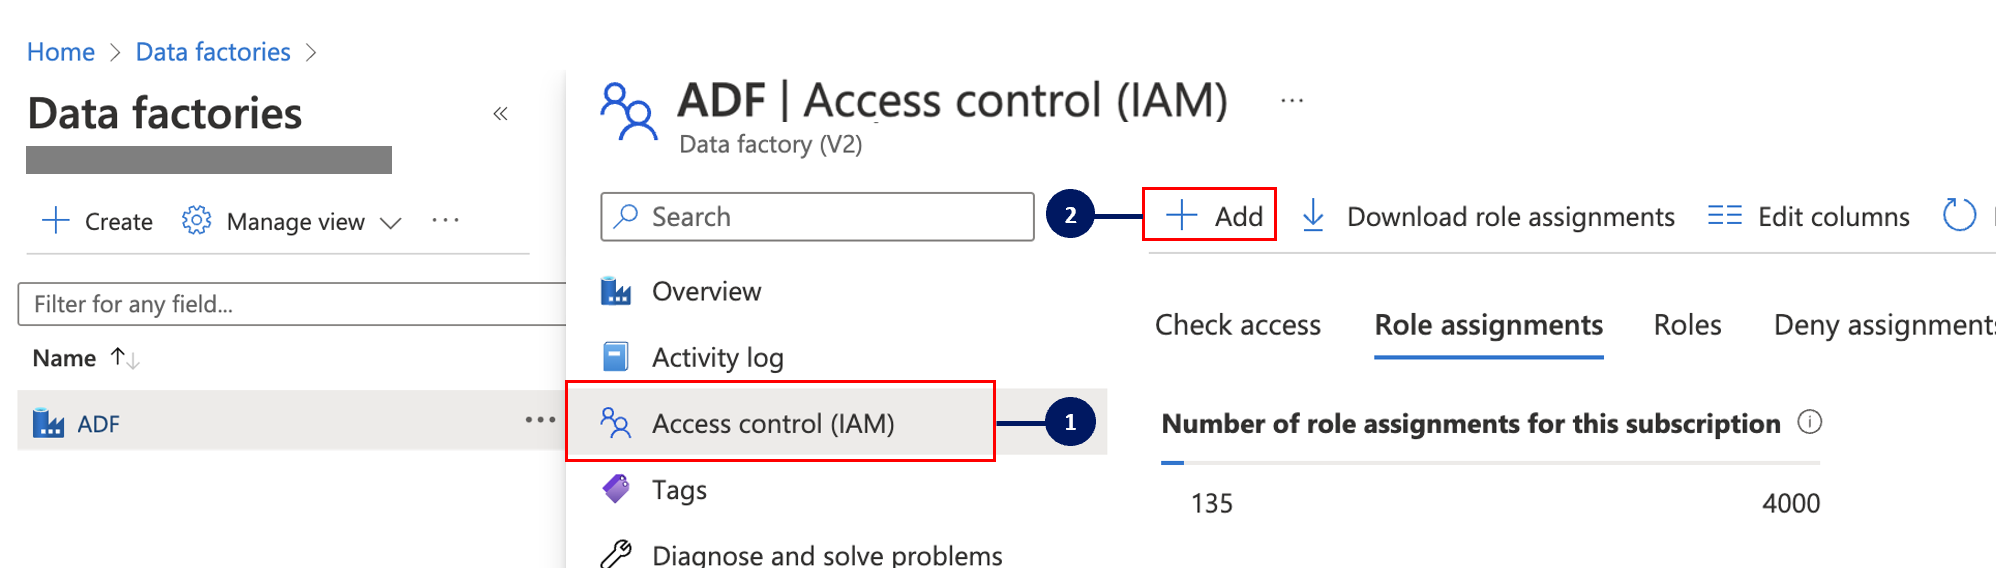
Open a Data Factory
-
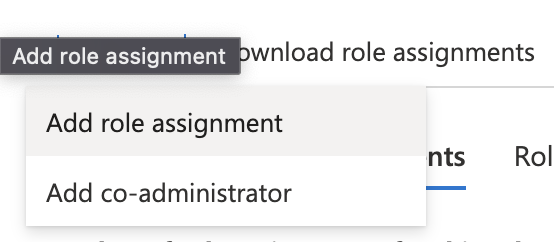
Click on Access control (IAM) in the panel and click Add
-
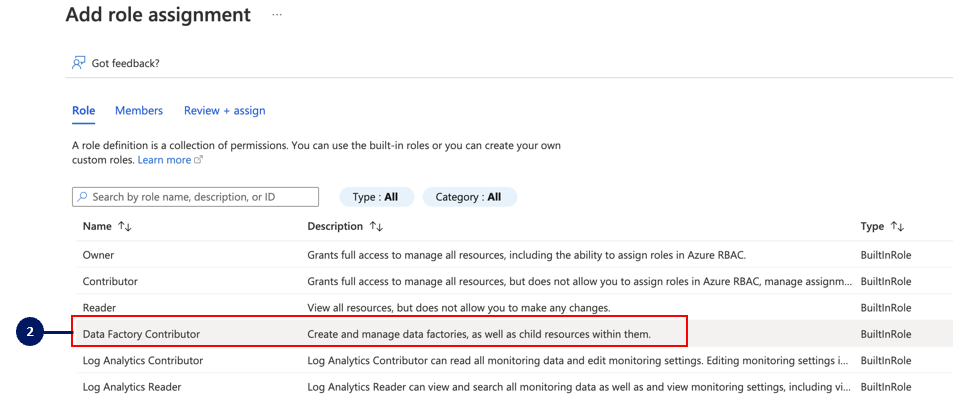
Select Data Factory Contributor
-
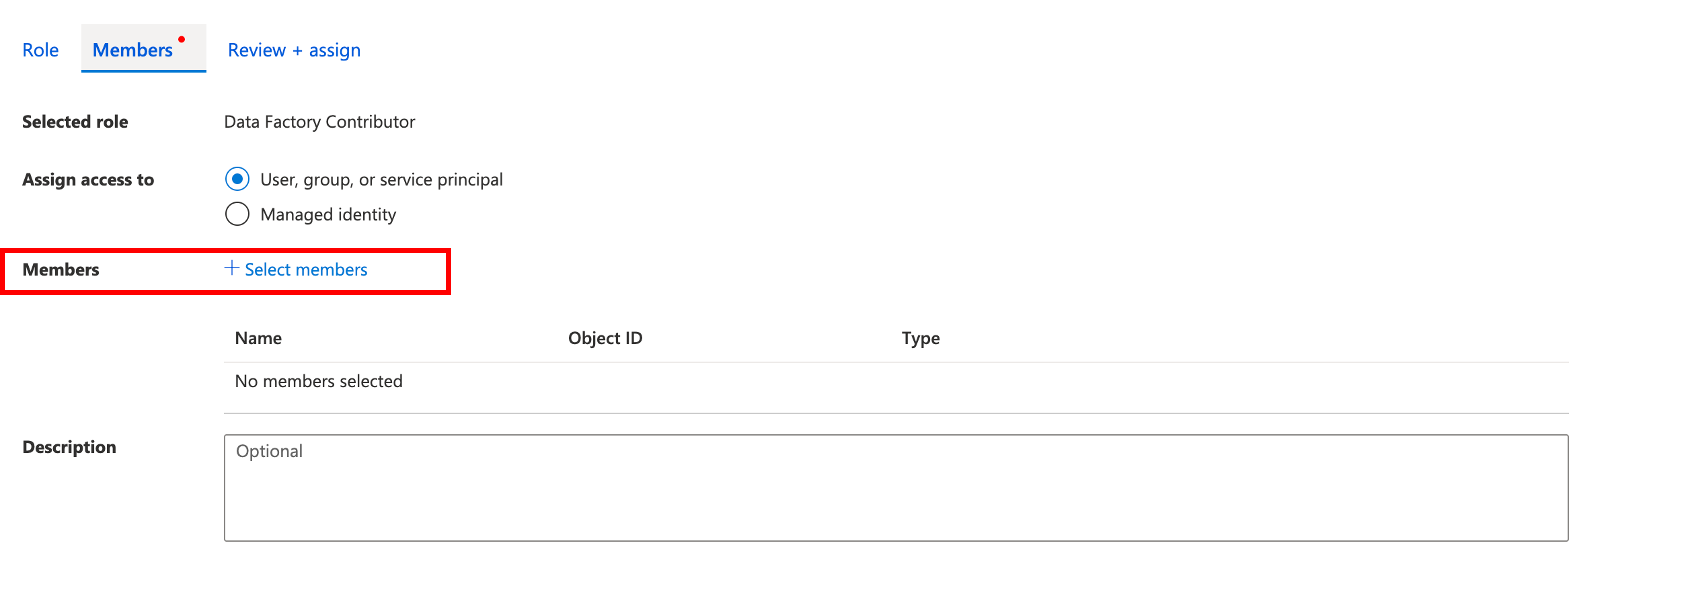
Click Select Member. In the side panel add the Service Application you created in Step 2. Click Select to add the Service Application.
-
Click Review + Assign to finish adding the permission.
Step 4) Add Azure Data Factory as a New Source
This step is performed by the K Admin.
-
Select Platform Settings in the side bar
-
In the pop-out side panel, under Integrations click on Sources
-
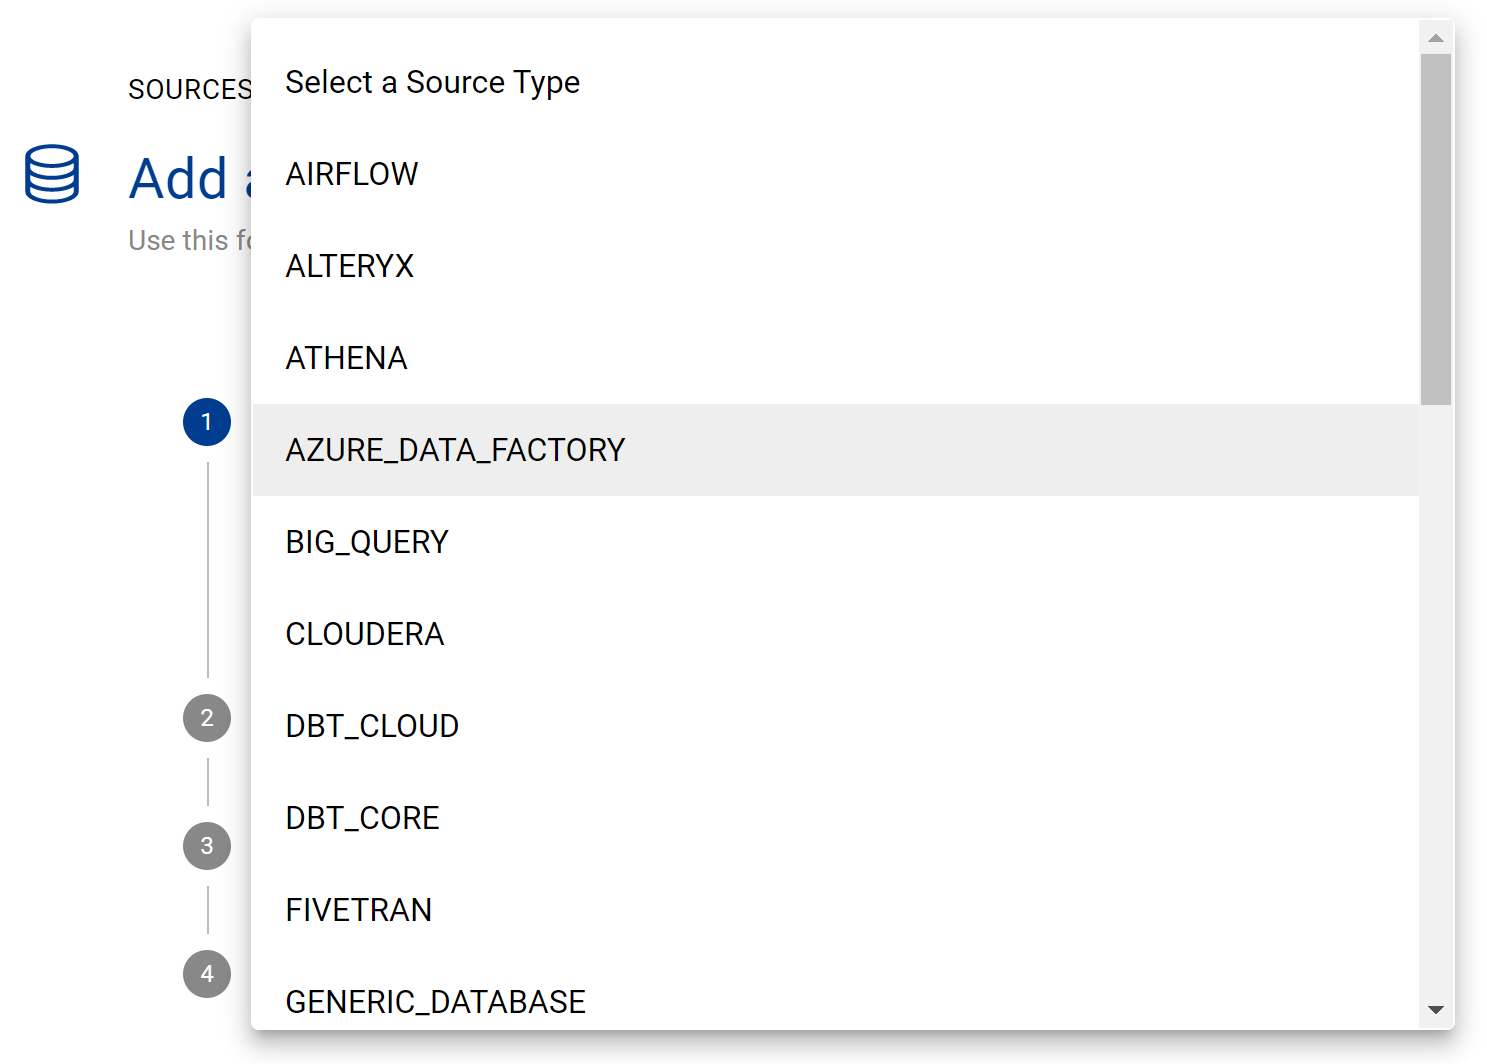
Click Add Source and select AZURE_DATA_FACTORY
-
Select Direct Connect
-
Fill in the Source Settings and click Save & Next
-
Name: Give the Azure Data Factory source a name in K. If you have multiple ADFs, each one will need to have a unique name
-
Host: Enter the url e.g. adf.azure.com
-
Timeout: Default is 10, sometimes it may take longer for the API to respond, so we recommend increasing it to 20
-
Update the Host / Database mapping (refer to the mapping documentation). This step can be completed after the initial load via the guided workflow.
-
Select Enable Workspace Filtering if you wish to load only select Workspaces
-
-
Add Connection Details and click Save & Next
-
Tenant ID: Add the Directory (tenant) ID copied from step 2
-
Client ID: Add the Application (client) ID copied from Step 2
-
Client Secret: Add the Secret ID copied from Step 2
-
-
Test your connection and click Next
-
If you selected Enabled Workspace Filtering, select the Workspaces you want to load. If you have a lot of workspaces this may take a bit of time to load.
-
Click Finish Setup
Step 4) Schedule Azure Data Factory source load
-
Select Platform Settings in the side bar
-
In the pop-out side panel, under Integrations click on Sources
-
Locate your new Azure Data Factory Source and click on the Schedule Settings (clock) icon to set the schedule
Note that scheduling a source can take up to 15 minutes to propagate the change.
Step 5) Manually run an ad hoc load to test Azure Data Factory