
This page will guide you through the setup of Tableau Cloud in K using the direct connect method.
Integration details
|
Scope |
Included |
Comments |
|---|---|---|
|
Metadata |
YES |
|
|
Lineage |
YES |
|
|
Usage |
YES |
|
|
Sensitive Data Scanner |
N/A |
|
Step 1) Create KADA PAT token
PAT tokens expire after 1 year. You will need to refresh the token in K after it expires. See https://help.tableau.com/current/server/en-us/security_personal_access_tokens.htm for more details
-
This step is performed by a Tableau Cloud Admin. The Admin must have
Site Administrator Creatorrole. -
Log into your Tableau cloud instance
-
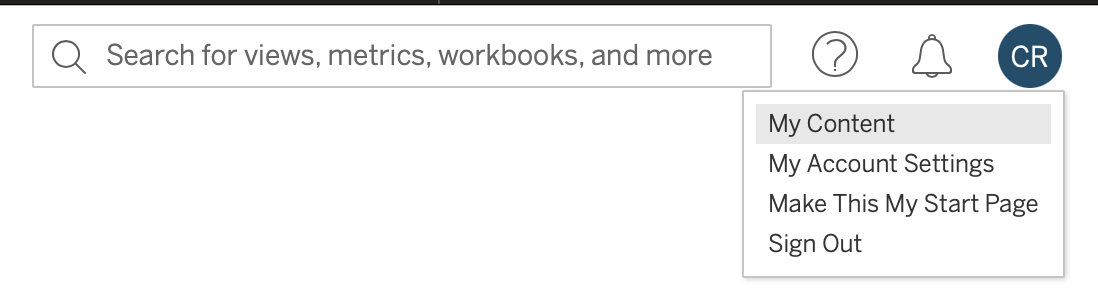
Go to My Account settings
-
Go to Personal Access Token
-
Create a Token
-
Give the Token a name such as "KADA"
-
Click Create new token

-
Copy the Token name and token value for use later on
-
-
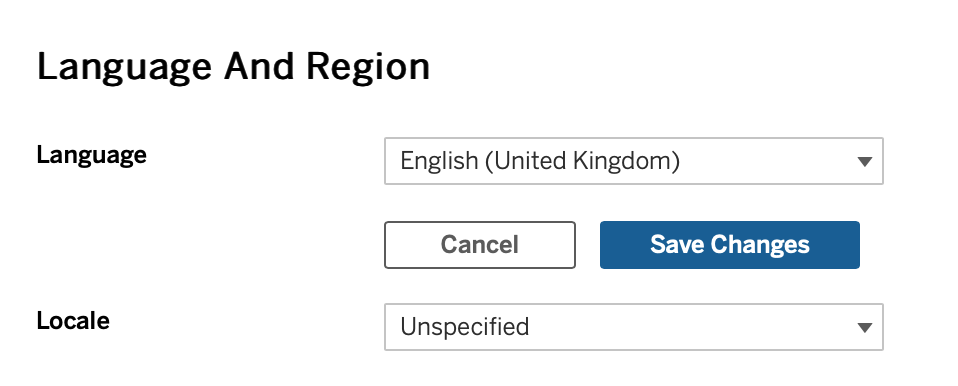
Go to Language and Region
-
Set Language to English United Kingdom. Click Save changes
-
Step 2) Setup KADA metadata workbook
-
In Tableau Cloud portal, go to Explore tab in the sidebar
-
Create a project called KADA. This will be used to store the KADA workbook which holds the metadata for extraction.
-
Go to the Admin Insights project
-
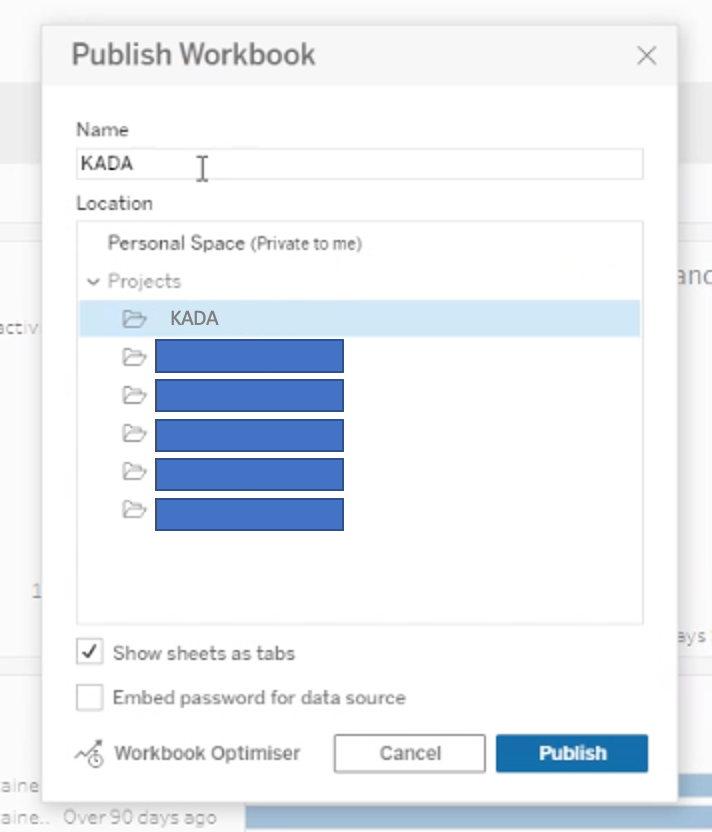
Open and edit the Admin Insights Starter Workbook. Make a copy of this workbook called KADA and publish it to the KADA project (created in the step above)
Step 3) Editing the KADA metadata workbook and sheets
The names of the sheets and fields to be added must to match exactly.
-
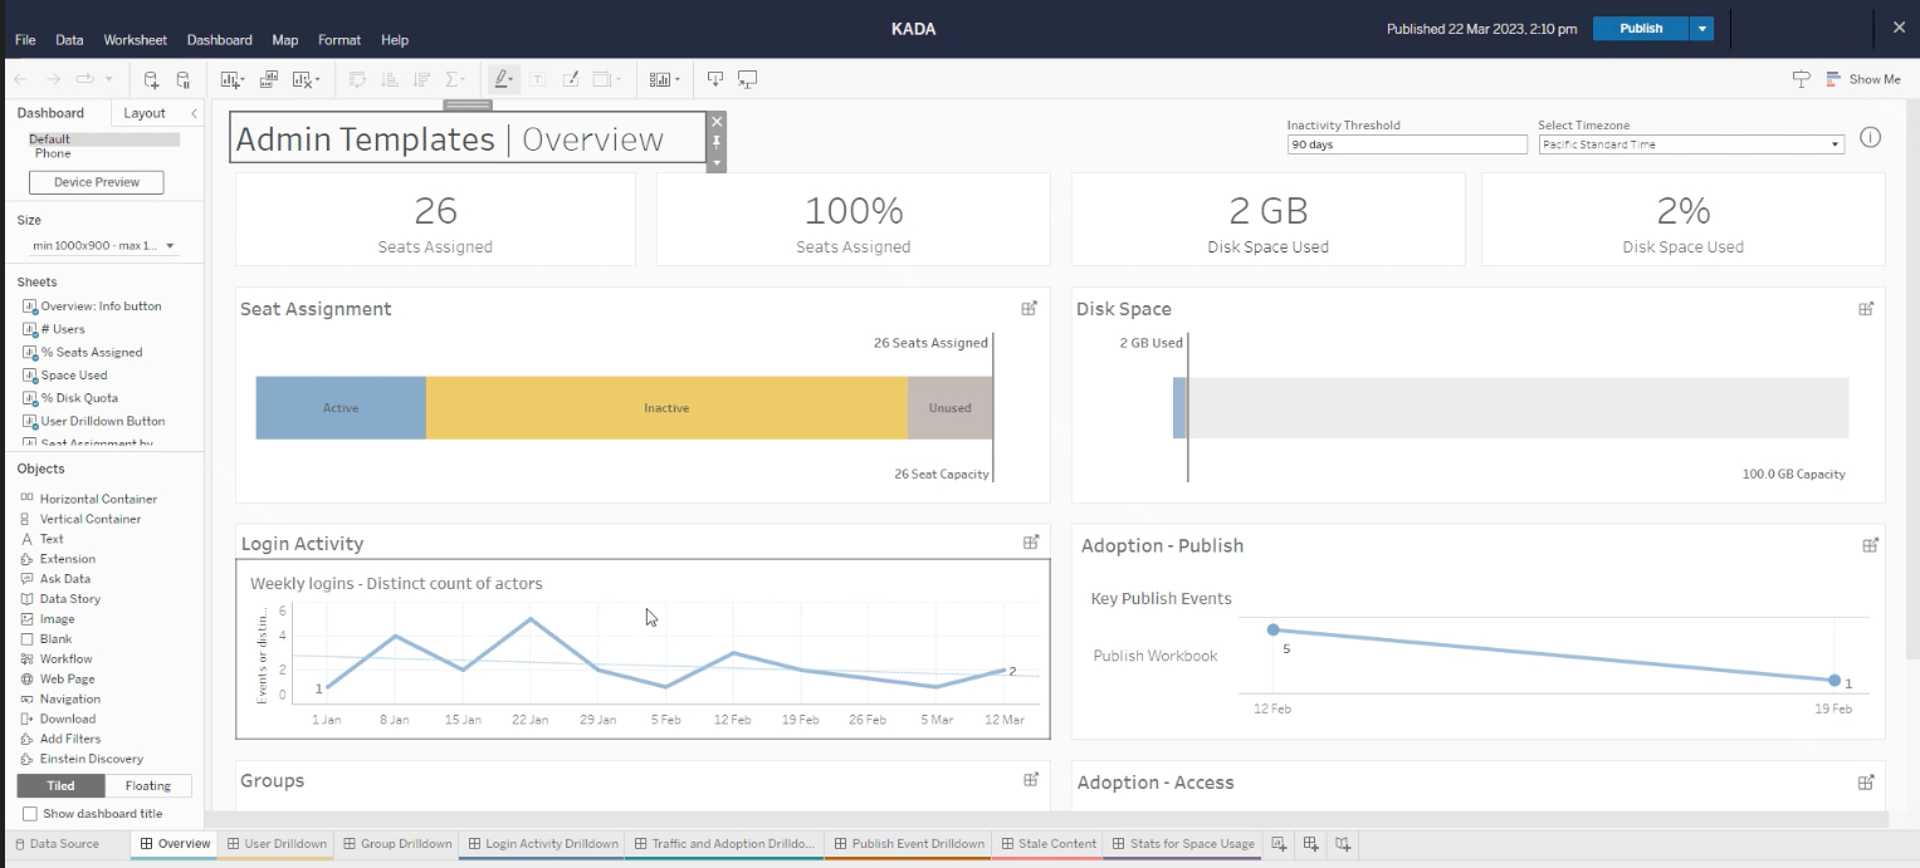
Open the KADA workbook that was created in Step 2. We will create 2 sheets to store metrics to extract.
-
Create a new sheet in the workbook called kada_ts_events
-
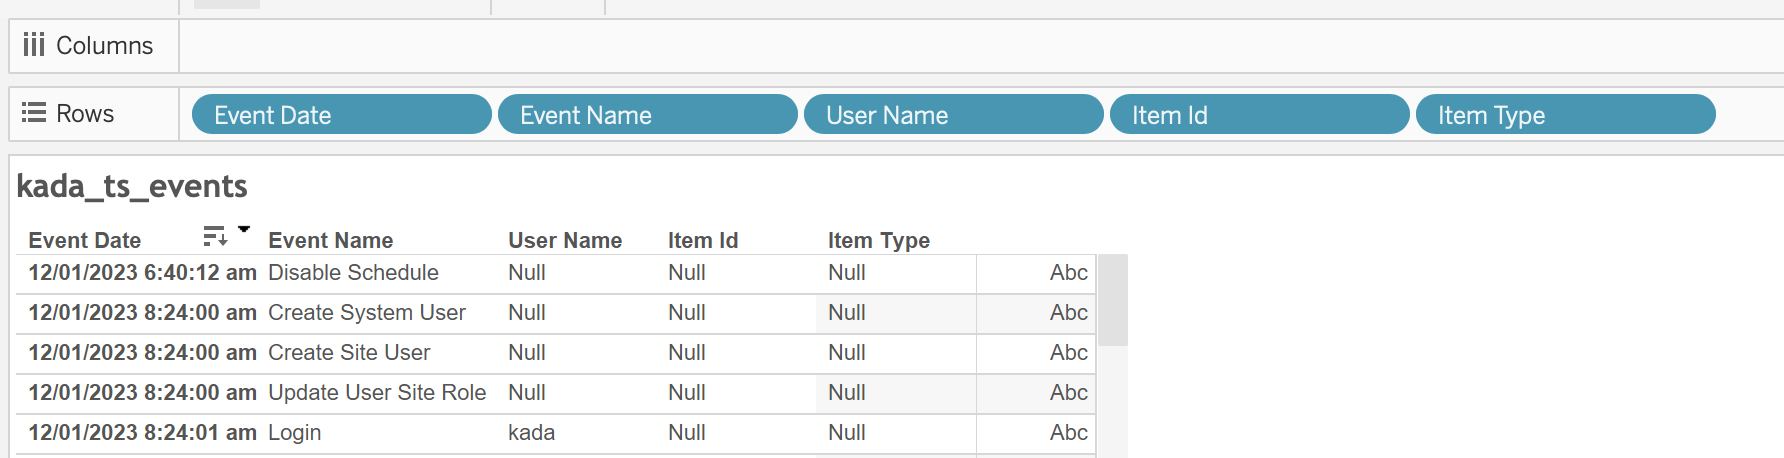
Add the following fields to the kada_ts_events sheet's Rows
-
Event Date.
-
Right click and set the event date to exact date. Set the event date to discrete (instead of continuous which is the default setting).
-
-
Event Name
-
User Name
-
Item Id
-
Item Type
There should be a date per row. No rows should be aggregated.
-
-
Create another new sheet in the workbook called kada_site_content
-
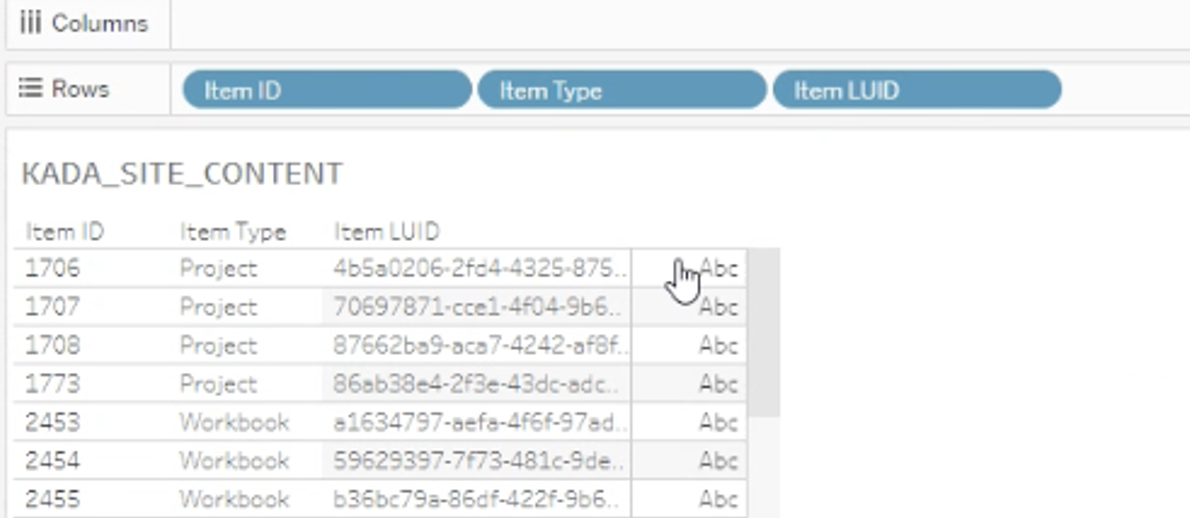
Add the following fields to the kada_site_content sheet's Rows
-
Item Id
-
Item Type
-
Item LUID
-
-
Publish the workbook
Step 4) Setup the source in K
-
Log into K
-
Select Platform Settings in the side bar
-
In the pop-out side panel, under Integrations click on Sources
-
Click Add Source and select Tableau Cloud
-
Select Direct Connect
-
Fill in the Source Settings and click Save & Next
-
Name: Give the Tableau Cloud source a name in K
-
e.g. Acme Inc Tableau cloud
-
-
Host: Use your Tableau Cloud base URL
-
Sites: This is the site name which you can find in the URL when you log into Tableau cloud
-
KADA Workbook Site Content View Name: The name of the Site Content sheet you added in Step 3.
-
Change this value only if you have used a different name (including case).
-
-
KADA Workbook TS Events View Name: The name of the Event sheet you added in Step 3.
-
Change this value only if you have used a different name (including case).
-
-
-
Enter your API and Token details and click Save
-
API URL: Use your Tableau Cloud base URL
-
Token name: Add the name of the PAT token you created in Step 1
-
Key or Token: Add the token value of the PAT token you created in Step 1.
-
-
Check the connection by clicking Test connection
-
Click Save & Finish
Step 5) Manually run an ad hoc load to test
-
Select Platform Settings in the side bar
-
In the pop-out side panel, under Platform Settings click on Sources
-
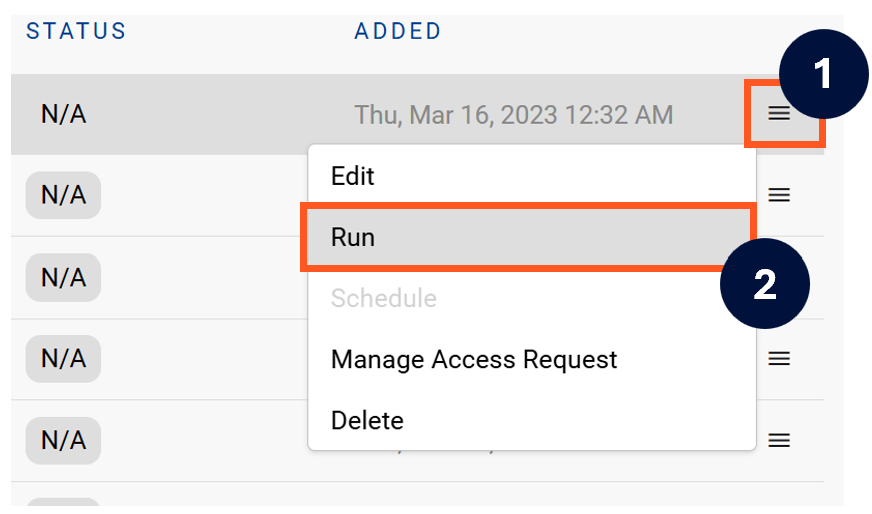
Next to the Source click on the menu icon and select Run
-
After the manual run is triggered, a pop up bar will appear containing a link that can take you to the Monitor tab where you can check the progress of the job.
Troubleshooting failed loads
-
If the job failed at the extraction step
-
Check the error. Contact KADA Support if required.
-
Rerun the source job
-
-
If the job failed at the load step, the landing folder failed directory will contain the file with issues.
-
Find the bad record and fix the file
-
Rerun the source job
-